Welcome to our comprehensive guide on sump pump installation. Whether you’re a seasoned DIY enthusiast or a homeowner looking to tackle this project yourself, having the right tools and materials is crucial to ensure a successful and efficient setup. In this section, we will discuss the essential tools and materials you’ll need for your sump pump installation.
Before we dive into the specifics, it’s essential to understand the importance of having the necessary tools and materials for this project. Attempting to install a sump pump without the appropriate equipment can lead to frustration, delays, and even costly mistakes. That’s why we’ve compiled a list of must-have tools and materials that will make your sump pump installation a breeze.
Key Takeaways:
- Having the necessary tools and materials is crucial for a successful sump pump installation.
- Attempting to install a sump pump without the appropriate equipment can lead to frustration, delays, and costly mistakes.
- Our guide will provide you with a comprehensive list of must-have tools and materials for a successful sump pump installation.
Tools for Sump Pump Installation
When it comes to installing a sump pump, having the right installation tools can make the job much easier and more efficient. In this section, we will outline the necessary tools you should have on hand, including both basic and specialized equipment, to ensure a seamless installation process.
Equipment Checklist
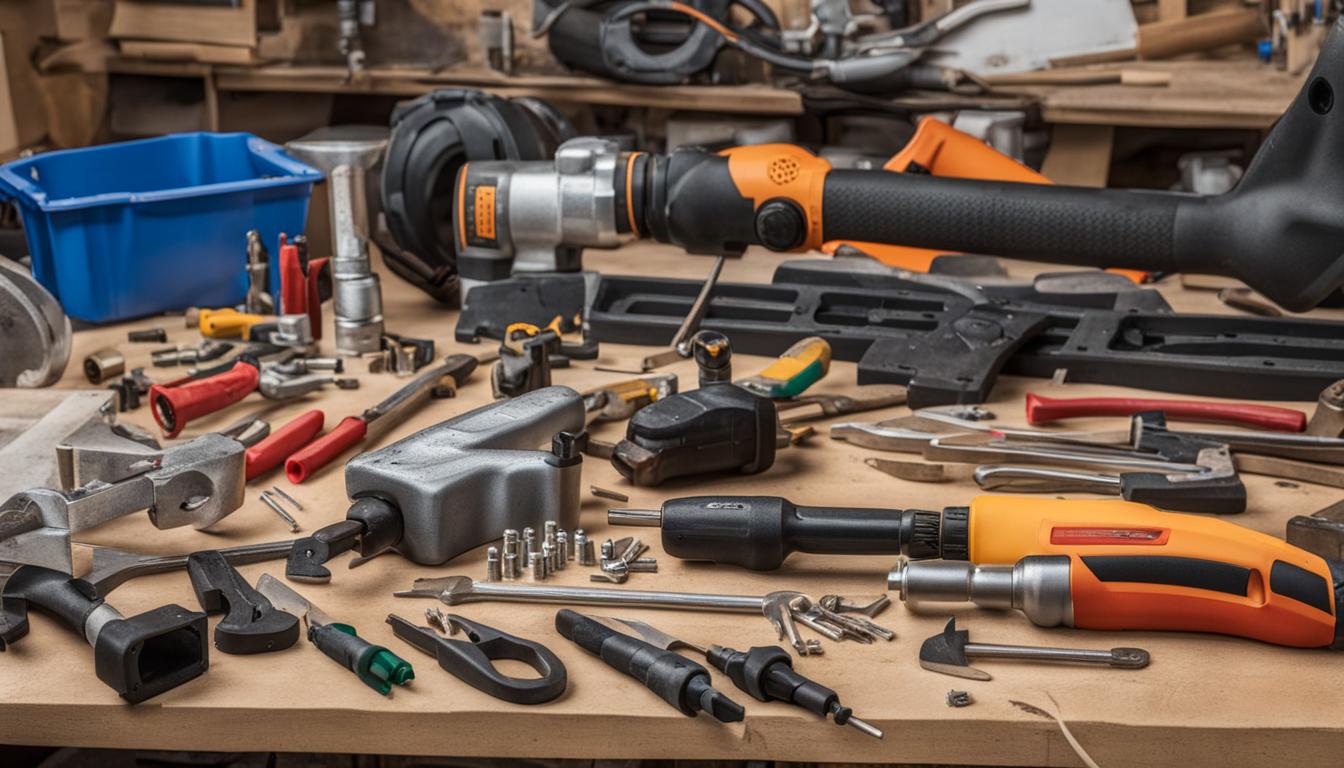
Before starting your sump pump installation, it’s important to ensure you have all the necessary equipment on hand. Here is a checklist of basic installation tools that you should have:
| Tool | Purpose |
|---|---|
| Power drill | To make holes for discharge pipe and fittings |
| Hacksaw | To cut PVC pipes to appropriate lengths |
| Screwdrivers | To fasten the clamp on the discharge pipe |
| Adjustable wrench | To tighten nuts and bolts |
| Tape measure | To measure the distance between the sump pump and the discharge line |
| Pipe cutter | To cut copper pipes for water supply, if necessary |
These basic installation tools should be sufficient for most sump pump installations. However, if you want to make the job even easier, you may want to consider investing in specialized installation tools such as:
- Basin wrench
- PVC pipe cutter
- Teflon tape
- Check valve
- Battery backup sump pump system
While these additional installation tools are not absolutely necessary, they can save you time and effort during the installation process and provide extra protection against basement flooding.
Cost-Effective Tools
If you’re looking to save money on your sump pump installation, there are several cost-effective tools available that can still get the job done efficiently. For example, you can replace a basin wrench with a pair of channel-lock pliers or use a hacksaw instead of a pipe cutter.
When selecting your installation tools, it’s important to balance cost with quality to ensure a successful installation and minimize the risk of future repairs or replacements. Investing in high-quality, durable installation tools may cost more upfront, but it can save you money in the long run by preventing costly mistakes and minimizing the need for future repairs.
Materials for Sump Pump Installation
Choosing the right materials for your sump pump installation is crucial for achieving an efficient setup that can effectively protect your basement or crawl space from water damage. In this section, we’ll guide you through the necessary materials required for a reliable sump pump installation and discuss the importance of material selection.
Sump Pump
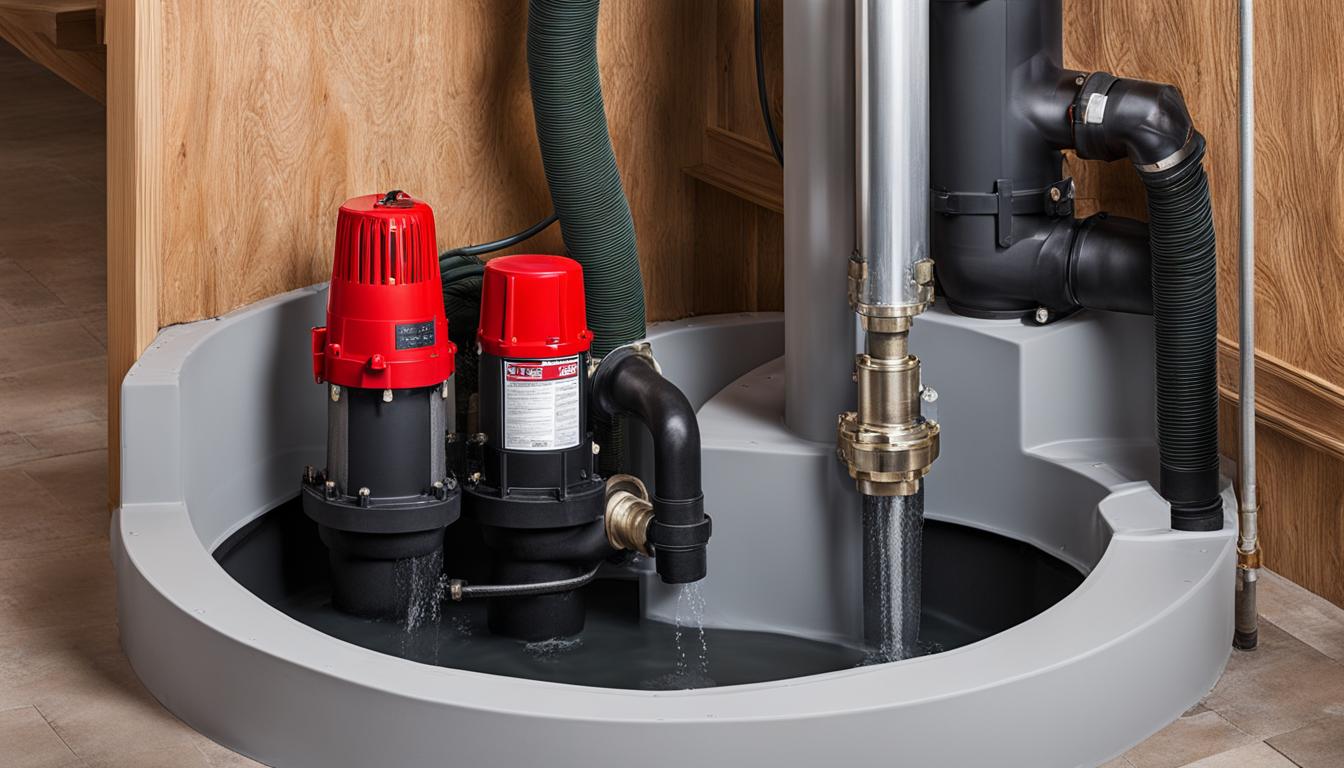
The sump pump is the heart of your system and the most crucial part of the installation process. It’s essential to choose a sump pump that can handle the size of your basement and the amount of water expected. Sump pumps come in different horsepower sizes and switch types, so it’s important to select one that meets your specific needs.
Discharge Pipe and Fittings
The discharge pipe is responsible for carrying the water outside your home. It’s essential to choose a pipe that’s both strong and large enough to handle the amount of water expected. The pipe should also have the right fittings to ensure a secure and watertight connection between the pump and the pipe.
Sump Basin
The sump basin is the container that houses the sump pump. It should be sturdy, durable, and large enough to accommodate the size of the pump. A sump basin lid is also necessary to prevent debris from entering the basin and to reduce noise levels.
Check Valve
A check valve is essential as it prevents the water from flowing back into the sump pit after being pumped out. It’s important to choose a high-quality check valve that can withstand the pressure and flow rate of the water being pumped.
Battery Backup
A battery backup system is an optional but highly recommended addition to your sump pump setup. It provides a secondary power source in case of a power outage or if the primary pump fails. A battery backup can provide peace of mind and protect your basement from water damage in crucial times.
Material Selection
When selecting materials for your sump pump installation, it’s essential to consider the quality, durability, and lifespan of each component. Choosing high-quality materials may come at a higher cost upfront, but it can save you money in the long run by preventing pump failure or the need for costly repairs.
Moreover, selecting energy-efficient sump pumps and discharge pipes can help save you money on utility bills while reducing your environmental impact.
Preparing for Installation
Before beginning the sump pump installation process, it’s crucial to properly prepare the area where the sump pump will be located. This involves several steps that will ensure a successful installation. Follow these homeowner tips to prepare for the sump pump setup:
- Clear the area: Ensure the area where the sump pump will be located is free of debris, including dirt, rocks, and other materials. This will prevent any obstructions that could affect the performance of the sump pump.
- Locate the drainage: Determine where the water will be discharged, and ensure that the location is appropriate and in accordance with local regulations.
- Prepare the sump pit: Dig the sump pit, ensuring it is deep enough to accommodate the sump pump and allow room for the discharge pipe. The size of the pit will depend on the model of the sump pump.
- Install the liner: Install the liner in the sump pit, ensuring it fits securely and is level. This will prevent water from leaking into the ground and ensure proper drainage.
Proper preparation is essential for a successful sump pump installation. Following these preparation steps will help ensure that the sump pump is installed correctly and operates efficiently.
Installing the Sump Pump
Now that all the necessary tools and materials are at hand, it’s time to install your sump pump. Follow the steps below:
- Choose the right location: Start by selecting the right location for your sump pump. This should be the lowest point in your basement or crawl space, where water tends to accumulate.
- Prepare the sump pit: Make sure the sump pit is clean and level. If you are installing a new sump pump, you will need to first dig a hole for the pit.
- Install the check valve: Attach the check valve to the sump pump discharge pipe, ensuring that it is facing outward. This will prevent water from flowing back into the sump pit after the pump has turned off.
- Insert the sump pump: Carefully insert the sump pump into the pit, making sure it is level and centered.
- Connect the discharge pipe: Connect the discharge pipe to the sump pump and run it out of your basement or crawl space. You can use PVC pipe, flexible tubing, or a hose.
- Secure the pipes: Secure the pipes in place with a clamp or zip tie to prevent them from sagging or moving.
- Test the sump pump: Fill the pit with water and test the sump pump to make sure it is working correctly. The pump should turn on automatically, pumping the water out of the pit and through the discharge pipe.
Congratulations! You’ve successfully installed your sump pump. Remember to regularly test and maintain your sump pump to keep it in good working condition.
Testing and Troubleshooting
Once your sump pump is installed, it’s crucial to test its functionality to ensure it’s working correctly. Testing your sump pump involves filling the sump pit with water and allowing the pump to turn on and remove the water. Here are the steps to test your sump pump:
- Locate the sump pump switch. This is usually located near the top of the pump and is either a float switch or a digital switch.
- Slowly pour water into the sump pit until the pump switch is activated and the pump turns on.
- Observe the pump as it removes the water from the sump pit.
- Once the pump has removed the water, it should turn off automatically. If it doesn’t, you may have a problem with the pump switch or float.
If your sump pump fails the test, there are several troubleshooting steps you can take to address the issue:
- Check the power source. Make sure the pump is plugged in and that the outlet is working correctly.
- Inspect the float switch. If the float switch is stuck or not working correctly, it can prevent the sump pump from turning on. Remove any debris that may be interfering with its movement.
- Verify the check valve is installed correctly. The check valve is responsible for preventing water from flowing backward into the sump pit after the pump has turned off. If it’s installed incorrectly, it can cause the pump to work inefficiently or not at all.
- Check the discharge pipe. Make sure the pipe is not clogged or frozen, which can prevent water from flowing through properly.
Regular maintenance can prevent many issues from occurring. Here are some tips to keep your sump pump in top shape:
- Check the pump’s operation at least once a year, preferably before the rainy season.
- Clean the sump pit to remove any debris that may interfere with the pump’s operation.
- Ensure the discharge pipe is not clogged and is directing water away from your home’s foundation.
- Replace the battery backup every 2-3 years to ensure it’s working correctly in case of a power outage.
Troubleshooting Tip:
If you’re unsure about how to troubleshoot your sump pump, it’s always best to consult a professional. They can provide expert guidance and ensure your sump pump is working correctly to protect your basement from water damage.
Maintaining Your Sump Pump
Regular maintenance is essential to keep your sump pump working efficiently and prolong its lifespan. By following these simple homeowner tips, you can ensure your sump pump is always ready to protect your basement from water damage.
- Test your sump pump: Check your sump pump at least once a year to ensure it’s working correctly. To do this, pour a bucket of water into the sump pit until the pump turns on and pumps out the water. If the pump doesn’t turn on, it may be time to replace it.
- Clean the sump pit: Over time, debris and sediment can build up in the sump pit, reducing the pump’s effectiveness. Clean the sump pit annually to ensure it’s free from debris and sediment.
- Check the discharge pipe: Inspect the discharge pipe for any signs of damage, such as cracks or leaks. Make sure the pipe is free from obstructions and is securely fastened to the pump and the outside outlet.
- Replace the backup battery: If your sump pump has a backup battery, be sure to replace it every two to three years. A fully charged backup battery can keep your sump pump running during a power outage, ensuring your basement stays protected.
- Consider a maintenance plan: Some plumbing companies offer sump pump maintenance plans, where they will perform annual inspections and maintenance on your sump pump. This can help ensure your sump pump is always in top condition and can provide peace of mind.
By following these simple maintenance tips, you can rest assured that your sump pump is always ready to protect your home from water damage. Regular maintenance not only helps to prolong the lifespan of your sump pump but can also save you money in the long run by avoiding costly repairs.
Cost Considerations
When it comes to sump pump installation, cost is an important consideration for most homeowners. Installing a sump pump involves both the cost of the equipment itself and the labor required for the installation. By making cost-effective choices in both tools and materials, you can keep your project within budget while still maintaining quality and efficiency.
Cost-Effective Tools
One way to keep costs down is to choose cost-effective tools for your sump pump installation. While specialized equipment can be helpful, many basic tools can also get the job done. Here are some cost-effective installation tools to consider:
- Adjustable wrench
- Screwdriver set
- Pipe cutter or hacksaw
- Teflon tape
By using these basic tools, you can save money while still completing a successful installation.
Material Selection
The materials you choose for your sump pump installation can also impact the overall cost of your project. While it may be tempting to choose cheaper materials to save money, it’s important to consider the long-term performance and reliability of your sump pump. Here are some factors to consider when selecting materials:
- Quality of materials
- Compatibility with your sump pump
- Durability and longevity
Choosing high-quality, durable materials may cost more upfront but can save you money in the long run by reducing the need for repairs and replacements.
Comparing Costs
When selecting tools and materials for your sump pump installation, it’s important to shop around and compare costs. Don’t just settle for the first option you find; instead, do some research and compare prices from different suppliers. You may be able to find a better deal on the tools and materials you need.
Professional Installation Costs
If you’re not comfortable tackling the installation yourself, you may need to hire a professional to do the job. The cost of professional sump pump installation can vary depending on factors such as the size of your home, the complexity of the installation, and your location. According to HomeAdvisor, the national average cost of sump pump installation is around $1,200, with a typical range of $650 to $2,800. However, these costs can vary significantly depending on your specific situation.
Tip: Before hiring a professional, be sure to get multiple quotes and read reviews from previous customers to ensure you’re getting the best value for your money.
Remember, the cost of installation is a small price to pay compared to the cost of water damage repairs. Investing in a high-quality sump pump and installation now can save you thousands of dollars in the long run.
Conclusion
Installing a sump pump may seem like an intimidating task, but with the right tools, materials, and preparation, it can be a manageable DIY project. As we have outlined, having the necessary equipment is crucial for a successful and efficient setup.
As homeowners, it’s important to remember that regular maintenance of your sump pump is necessary to ensure it continues to protect your basement from water damage. By following the steps outlined in this guide, you can confidently install and maintain your sump pump to keep it in peak performance.
Don’t forget that cost considerations play a role in the installation process. By selecting cost-effective tools and materials, you can keep the overall project cost down without compromising on performance.
We hope this guide has provided you with valuable homeowner tips and an understanding of what is required for an efficient sump pump setup. Remember, should you encounter any issues or require further assistance, it’s always best to consult with a professional.
FAQ
What tools are necessary for sump pump installation?
The necessary tools for sump pump installation include a utility knife, adjustable wrench, pipe cutter, hacksaw, power drill, PVC primer and cement, screwdriver, and a level. These tools will help you complete the installation process efficiently.
What materials are required for sump pump installation?
The materials required for sump pump installation consist of a sump pump, sump basin, check valve, discharge pipe and fittings, gravel or crushed stone, and electrical wiring. Choosing the right materials is crucial for a reliable and efficient sump pump setup.
How should I prepare for sump pump installation?
To prepare for sump pump installation, make sure the area where the sump pump will be located is clean and free of debris. Additionally, ensure that the location is accessible and properly waterproofed. This will help create an ideal environment for the sump pump to operate effectively.
What are the steps for installing a sump pump?
The steps for installing a sump pump include locating the ideal position for the sump pump, excavating a sump pit, installing the sump basin and pump, connecting the discharge pipe, testing the sump pump’s functionality, and securing the pump in place. Following these steps will help you successfully install your sump pump.
How do I test and troubleshoot my sump pump?
To test your sump pump, pour water into the sump pit until the float switch activates the pump. Make sure the pump turns on and effectively removes the water from the pit. If you encounter any issues, such as the pump not turning on or water not being pumped out, refer to the troubleshooting tips in our guide to identify and resolve the problem.
What maintenance tasks should I perform to keep my sump pump in optimal condition?
Regular sump pump maintenance tasks include cleaning the sump pit, testing the pump’s operation, checking for any clogs in the discharge pipe, and inspecting the pump for any signs of damage or wear. By performing these maintenance tasks, you can ensure your sump pump continues to function effectively and protect your basement from water damage.
How much does sump pump installation cost?
The cost of sump pump installation can vary depending on factors such as the type of sump pump, the complexity of the installation, and the materials used. It is recommended to obtain quotes from professionals to get an accurate estimate for your specific installation project. Additionally, choosing cost-effective tools and materials can help keep the overall cost of installation lower.
