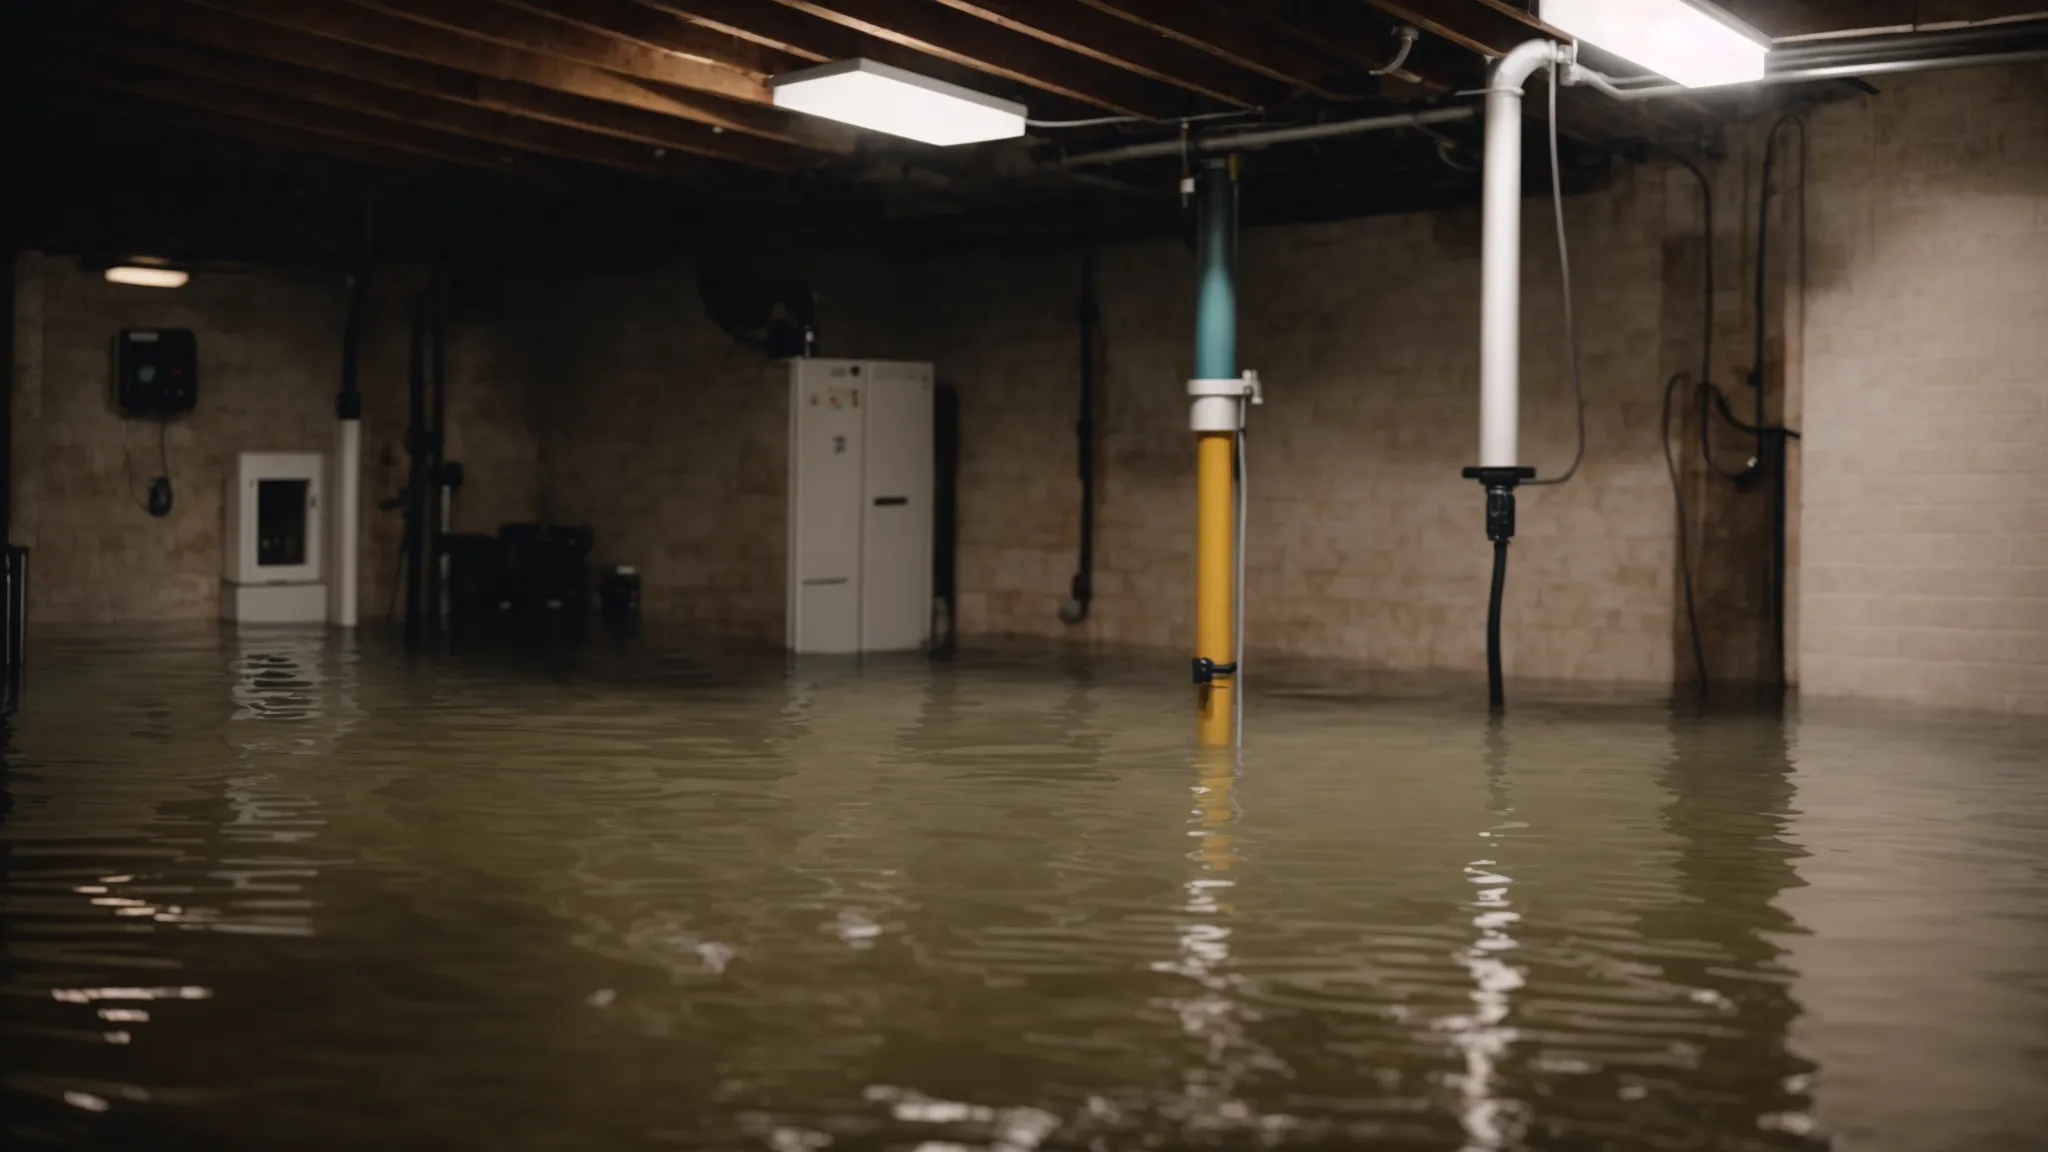
Welcome to our comprehensive guide on DIY sump pump installation. Flooding and water damage are major concerns for any homeowner, and a sump pump can provide essential protection. Installing a sump pump yourself can save you money and give you peace of mind knowing your home is safeguarded from potential water damage.
In this step-by-step guide, we will walk you through the process of DIY sump pump installation, from understanding the basics of sump pumps to assessing your specific needs and gathering the necessary tools and materials. We’ll guide you through preparing the sump pit, installing the sump pump, connecting the discharge pipe, testing and troubleshooting, and maintaining your system for optimal performance.
Get ready to tackle this essential home improvement project with confidence and ensure your basement stays dry and protected from flooding for years to come.
Key Takeaways:
- Installing a sump pump yourself can save you money and protect your home from flooding.
- Understanding the basics of sump pumps and assessing your specific needs is crucial before beginning the installation process.
- Gathering the necessary tools and materials beforehand is essential for a successful DIY sump pump installation.
- Properly preparing the sump pit and installing the sump pump with safety precautions will optimize your system’s performance.
- Regular maintenance tasks will ensure the longevity and effectiveness of your sump pump system.
Understanding Sump Pumps: An Overview
Before embarking on the DIY sump pump installation process, it’s essential to understand the basics of sump pumps and their role in basement waterproofing.
A sump pump is a device that redirects water away from your home’s foundation to prevent flooding and water damage. It works by collecting excess water in a sump pit and pumping it out to a designated location, typically away from your home.
There are two main types of sump pumps: submersible and pedestal. Submersible pumps are installed in the sump pit itself, while pedestal pumps are placed on a pedestal outside of the pit.
Basement Waterproofing
Sump pumps are an integral part of basement waterproofing systems. A waterproofing system involves several components, such as interior drainage systems, exterior excavation, and basement crack repair, all designed to keep your basement dry and free from water damage.
The sump pump acts as the final defense mechanism in the waterproofing system, collecting and removing any water that may accumulate in the sump pit.
By understanding the role of sump pumps in basement waterproofing, you can better assess your home’s needs and determine if a sump pump installation is the right step for you.
Assessing Your Sump Pump Needs
In this section, we will guide you through the process of assessing your sump pump needs. Taking the time to accurately evaluate your requirements for a sump pump will save you money in the long run, enhance safety, and provide peace of mind.
The first step in determining your sump pump needs is selecting the appropriate size. Consider the size of your basement, the amount of water that enters during heavy rainfall, and the frequency of flooding in your area. A pump that is too small will not be able to handle excess water, while a pump that is too large will consume unnecessary energy and increase your electricity bill.
Next, determine the best sump pump location for optimal performance. Keep in mind that the sump pump should be placed in the lowest area of the basement floor to allow water to flow easily into the pit. The pump should also be accessible for regular maintenance and repair.
When evaluating your sump pump needs, consider any additional features that may enhance flood prevention and cost-saving measures. For example, a battery backup system can ensure that the sump pump continues to operate during power outages. Alternatively, a sump pump alarm can alert you to potential issues before they become major problems.
| Benefits of Assessing Your Sump Pump Needs | Cost-Saving Tips |
|---|---|
|
|
Assessing your sump pump needs is a crucial step in ensuring a successful DIY installation. By carefully evaluating your requirements, you can determine the appropriate size and location of the pump, as well as any additional features that may provide increased protection and cost savings.
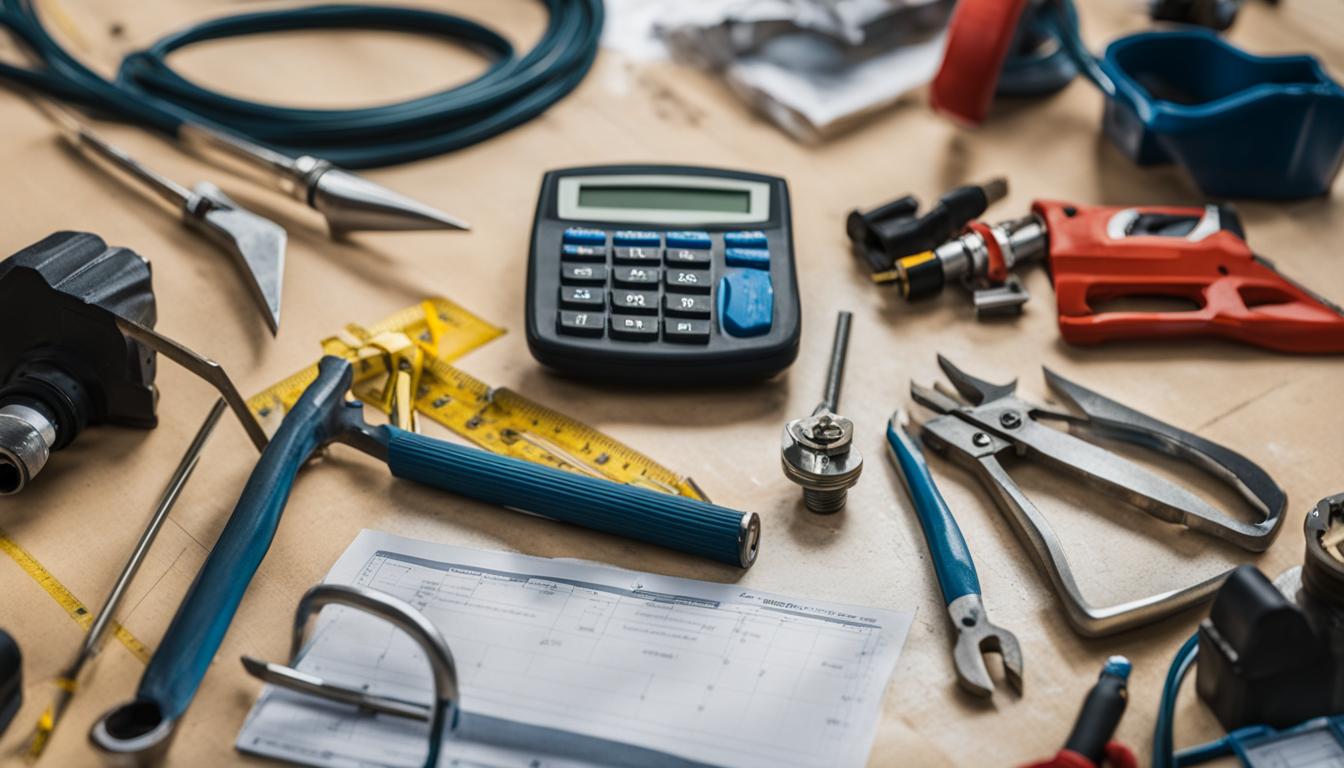
Gathering the Necessary Tools and Materials
Before embarking on your DIY sump pump installation, it’s important to gather all necessary tools and materials. This ensures you don’t have to pause the project midway while searching for missing items. Here’s a comprehensive list of everything you’ll need for a successful installation:
| Tools Needed: | Materials Needed: |
|---|---|
| Protective gloves | Sump pump |
| Eyewear | Check valve |
| Tape measure | PVC glue |
| Hacksaw or PVC cutter | Drainage stone |
| Screwdriver | Gravel |
| Adjustable wrench | Perforated pipe |
| Power drill | Sump liner |
| Concrete drill bit | Discharge pipe |
| Pry bar | Waterproof sealant |
Most of these items are readily available at your local home improvement store. However, be sure to double-check the product specifications before purchasing them to ensure they are compatible and appropriate for your installation.
With all the necessary tools and materials gathered, the installation process will be smoother and quicker. Now that you’re ready, it’s time to prepare the sump pit for the installation.
Preparing the Sump Pit
Before installing your sump pump, it’s crucial to ensure the sump pit is properly prepared. A well-prepared pit will optimize your pump’s performance and extend its lifespan. Follow these steps to prepare your sump pit:
Clear the Debris
Remove any debris, such as rocks, gravel, or dirt, from the sump pit. Debris can clog the pump and impede its ability to remove water effectively.
Create a Sump Liner
Install a sump liner if your pit doesn’t already have one. A liner protects the pit from damage, preventing cracks and leaks that can impede the pump’s performance.
| Material | Pros | Cons |
|---|---|---|
| Plastic | Durable, lightweight, easy to install | May not fit irregularly shaped pits |
| Concrete | Durable, custom fit to pit | Heavy, difficult and time-consuming to install |
| Fiberglass | Lightweight, durable, custom fit to pit | More expensive than plastic |
Ensure Proper Drainage
Ensure proper drainage in and around the sump pit. This can involve installing drainage tiles around the perimeter of the pit or using a drainage mat for the pit’s base. Proper drainage will prevent water from pooling around the pit, which can cause the pump to work harder than necessary.
By taking the time to properly prepare your sump pit, you will optimize your sump pump’s performance, which is crucial for protecting your home from water damage.
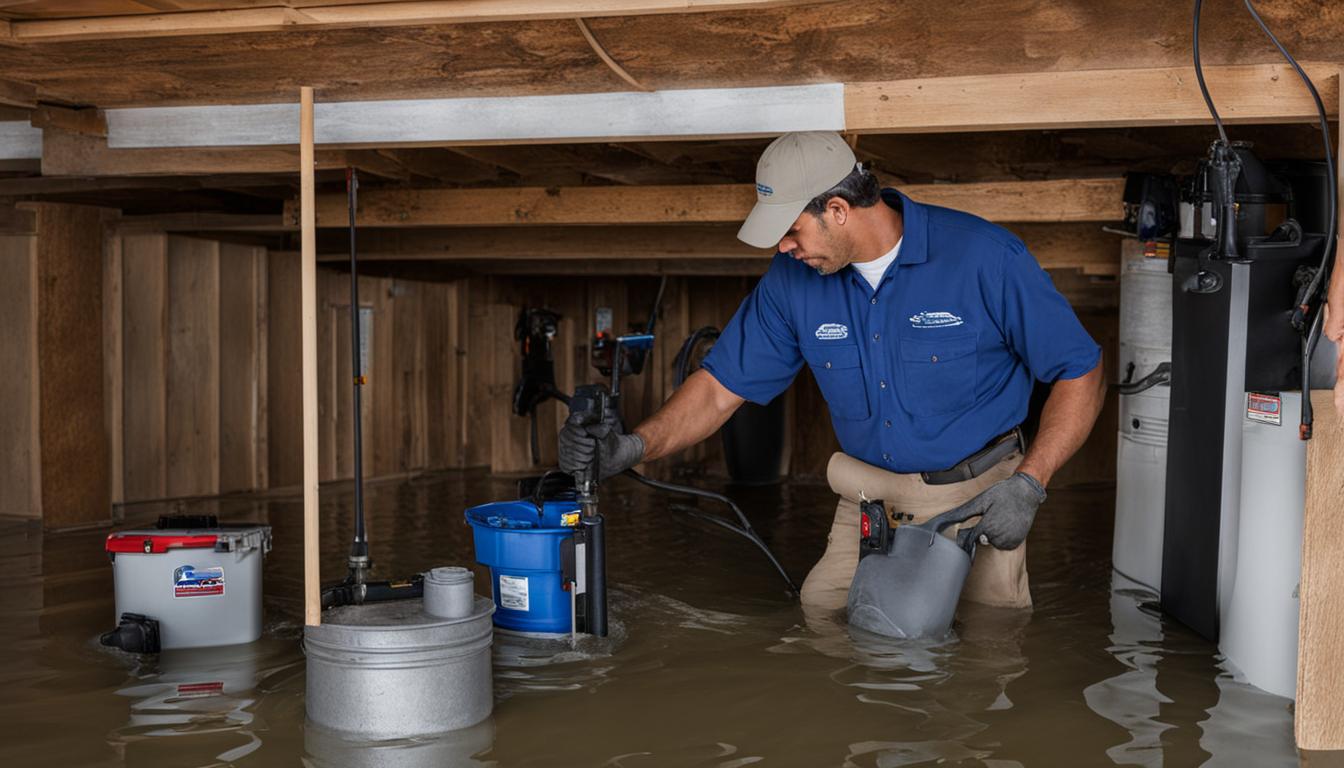
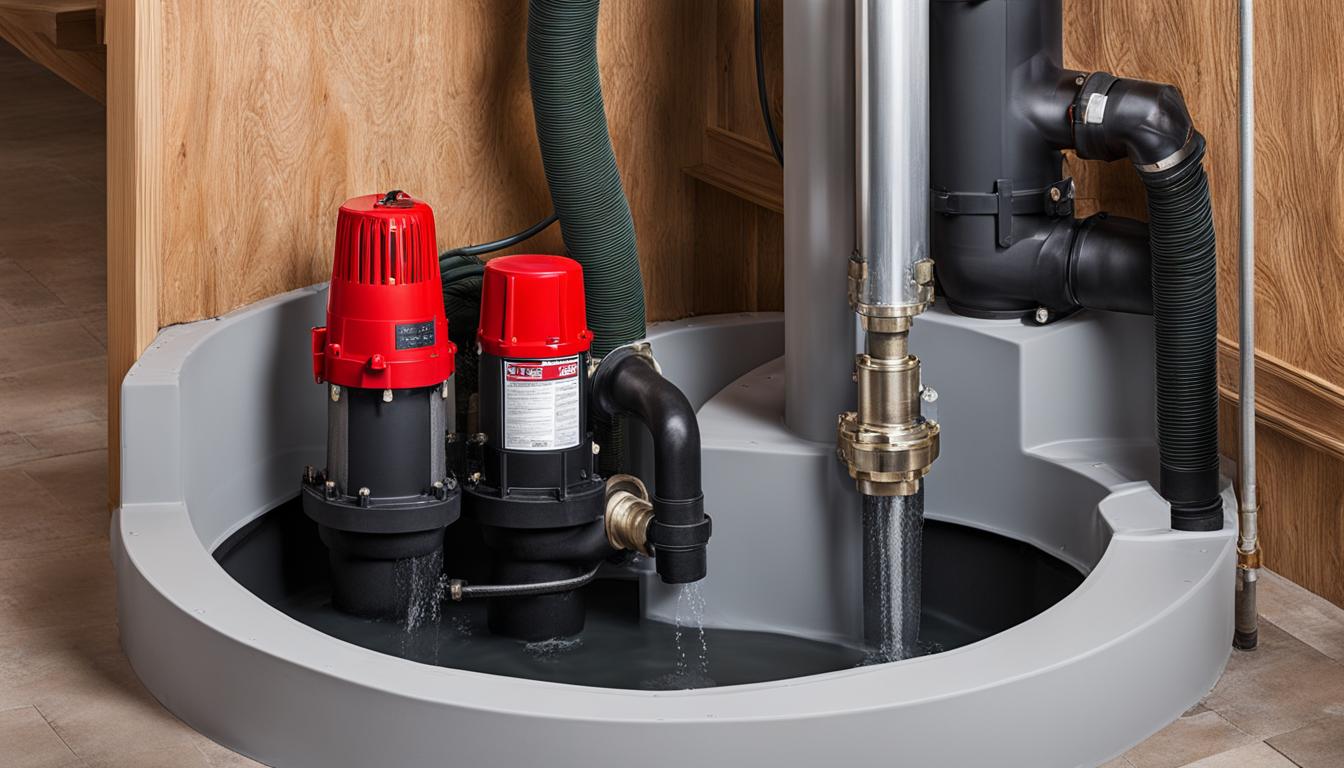
Installing the Sump Pump
Now that the sump pit is prepared, it’s time to install the sump pump. This step requires some heavy lifting, so ensure you have a friend or family member to assist with the process. Safety precautions must be taken to prevent any accidents during the installation. Remember to wear work gloves and eye protection.
- Lower the sump pump into the sump pit. Make sure the pump is level and stands upright on the bottom of the pit.
- Connect the check valve to the pump’s discharge port. This valve prevents water from flowing back into the sump pit once it’s pumped out.
- Attach the PVC discharge pipe to the check valve. Cut the pipe to fit the length needed to reach the designated outdoor area for drainage. Use PVC cement to create a secure connection between the pipe and the valve.
- Insert the backup battery into the battery case, if your sump pump is equipped with one. Follow the manufacturer’s instructions for proper installation.
- Plug the sump pump into a GFCI outlet that’s at least 6 feet away from the sump pit. Don’t use an extension cord.
Congratulations on successfully installing your sump pump! However, the installation process is not complete yet. The next step is connecting the discharge pipe.
Connecting the Discharge Pipe
Now that the sump pump is securely installed, it’s time to connect the discharge pipe. This step is crucial to ensure proper drainage and prevent water backup. Follow these installation tips:
- Choose the right pipe: Select a durable pipe with a diameter that matches the pump’s outlet size. Avoid using corrugated pipes, as they can decrease water flow and increase the risk of clogs.
- Position for optimal drainage: The discharge pipe should extend at least 10 feet away from the foundation and drain downhill. Do not connect the pipe to a sewer or septic system, as this can lead to blockages and backflow.
- Maintain a secure connection: Use hose clamps or PVC glue to connect the pipe to the pump outlet. Ensure the connection is airtight to prevent leaks.
Pro tip: To further enhance your sump pump setup, consider adding a check valve to the discharge pipe. This valve will prevent water from flowing back into the sump pit and reduce pump wear and tear.
If you’re unsure about connecting the discharge pipe, consult a professional plumber. They can ensure proper installation and provide additional tips to optimize your sump pump system.
Testing and Troubleshooting
Once the installation is complete, we must test the sump pump for proper functionality. This step is crucial for gauging your system’s effectiveness and ensuring that it’s ready to tackle any flooding event.
To begin testing, fill the sump pit with water, and observe the pump’s operation as it removes the water. Ensure that the pump is not making any strange noises, and the motor is not overheating or tripping the circuit breaker. It’s essential to test the pump periodically to ensure its performance and prevent any potential issues.
If your pump isn’t functionally correctly and it’s not due to an electrical issue, there could be a mechanical problem. Check to see if there is anything clogging the pump and cleaning it out. If that doesn’t work, you may have to replace the pump entirely.
Regular maintenance is also crucial to ensure the longevity and effectiveness of your sump pump. Several maintenance tasks must be performed regularly, including:
- Cleaning the sump pit of any debris, dirt, or mud that may obstruct the pump’s intake.
- Check the power cord for any signs of damage or wear.
- Inspect the pump’s components for rust or corrosion.
- Replace any worn or damaged parts immediately.
Be sure to consult the manufacturer’s manual for specific maintenance instructions and recommended timelines. Maintaining your sump pump will ensure that it’s always ready to protect your home from any water damage.
Backup Systems and Alarms
As an additional feature to your sump pump setup, backup systems and alarms can provide extra peace of mind during power outages or system failures. These extra measures can alert you if there is an issue with your sump pump, ensuring that you can address the problem before flooding occurs.
Backup systems come in many forms, such as battery backups and water-powered backup pumps. Battery backups are easy to install and do not require any additional plumbing. They offer a reliable power source for your sump pump during power outages, ensuring that your basement stays dry no matter what. Water-powered backup pumps provide an alternative power source for your sump pump, using your home’s water supply to pump water out of the basement.
Alarms can also provide an added layer of protection. High-water alarms alert you when the water in your sump pit reaches a predetermined level, indicating your sump pump is not working correctly. These alarms can be installed directly on the sump pump or remotely, sending notifications to your mobile phone or email.
Table: Pros and Cons of Backup Systems
| Backup System | Pros | Cons |
|---|---|---|
| Battery Backup | – Easy to install – Reliable power source – No additional plumbing required |
– Limited run time depending on battery size – Batteries need replacement periodically |
| Water-Powered Backup Pump | – No need for battery – Can operate indefinitely – Water supply is always available |
– Requires additional plumbing – Lower pumping capacity – Higher operating cost |
Consider adding backup systems and alarms to your sump pump setup for additional protection and peace of mind. By doing so, you can help avoid costly water damage and ensure your basement remains safe and dry during power outages or system failures.
Maintaining Your Sump Pump
Regular maintenance is essential to ensure the longevity and effectiveness of your newly installed sump pump. By taking the time to perform routine maintenance, you’ll save money on future repairs and replacements. Here are some of the essential maintenance tasks:
- Check the sump pump components: Periodically check your pump’s components to ensure they’re in good working order and free of debris. This includes the float switch, valves, and impeller. If any of these parts appear damaged or worn, replace them immediately.
- Clean the sump pit: Dirt and debris can accumulate in the sump pit over time, potentially clogging the pump and reducing its effectiveness. To prevent this, clean the sump pit regularly using a hose or wet-dry vacuum.
- Test the pump: Test your sump pump periodically to ensure it’s working correctly. To do this, fill the sump pit with water until the float switch is activated, signifying that the pump has turned on and is working correctly.
- Ensure proper drainage: Check the discharge pipe to ensure that water is flowing freely away from your home’s foundation. If water is pooling near the discharge pipe, it may be necessary to adjust the position of the pipe or add an extension to ensure proper drainage.
- Consider a backup system: To provide extra peace of mind, you may want to consider installing a backup battery or water-powered sump pump. These systems can activate automatically if your primary pump fails, ensuring continued protection against flooding.
By following these maintenance tips, you can rest assured that your sump pump will continue to operate efficiently and protect your home from flooding for years to come.
Conclusion
Now that you have completed your DIY sump pump installation, you can rest easy knowing your basement is protected from potential flooding and water damage. This essential home improvement project not only saves you money in the long run but also provides peace of mind.
Maintaining Your Sump Pump
Regular maintenance is key to ensuring the longevity and effectiveness of your sump pump. Cleaning the sump pit and checking the pump’s components are essential tasks that should be performed regularly. You should also test your sump pump’s functionality periodically to ensure it is operating correctly.
Backup Systems and Alarms
Consider adding backup systems and alarms to enhance your sump pump setup. These additional features provide an extra layer of protection during power outages or system failures.
Protect Your Home with a DIY Sump Pump Installation
By following our step-by-step guide, you have successfully completed a DIY sump pump installation, protecting your home from potential water damage. Regular maintenance and the addition of backup systems and alarms will ensure your sump pump operates efficiently for years to come. Take pride in safeguarding your home with this essential upgrade.
FAQ
Is DIY sump pump installation safe for homeowners?
Yes, DIY sump pump installation is safe for homeowners as long as they follow proper instructions, take necessary safety precautions, and have the required tools and materials.
How does a sump pump prevent water damage?
A sump pump prevents water damage by removing excess water from the sump pit, preventing it from overflowing and flooding the basement or crawlspace.
Can I install a sump pump in an existing home?
Yes, you can install a sump pump in an existing home. However, it may require some additional steps and considerations, such as finding a suitable location and creating a sump pit.
What are the different types of sump pumps available?
The different types of sump pumps include pedestal pumps, submersible pumps, and battery-powered backup pumps.
How do I determine the appropriate pump size for my needs?
The appropriate pump size depends on factors such as the size of your basement or crawlspace, the average amount of water accumulation, and the pump’s pumping capacity. Consult a professional or refer to the manufacturer’s guidelines for guidance.
What tools and materials do I need for a DIY sump pump installation?
The tools and materials needed for a DIY sump pump installation include a sump pump, PVC pipes, pipe fittings, a check valve, a sump liner, gravel, a level, a shovel, a drill, and various plumbing tools. A complete list will be provided in our guide.
How often should I test my sump pump’s functionality?
It is recommended to test your sump pump’s functionality at least once a year. Additionally, it’s a good idea to perform a test after any significant rainfall or whenever there are concerns about its performance.
What are some common issues that may arise with a sump pump?
Common issues that may arise with a sump pump include a malfunctioning switch, a clogged discharge pipe, a failing motor, or a jammed impeller. Our troubleshooting guide will provide solutions for these issues.
Do I need a backup system or alarm for my sump pump?
It is highly recommended to have a backup system or alarm for your sump pump. These additional features provide reassurance and protection in case of power outages, pump failures, or excessive water accumulation.
How often should I perform maintenance on my sump pump?
Regular maintenance tasks such as cleaning the sump pit, checking the pump’s components, and testing the pump’s functionality should be performed at least once a year. Consult the manufacturer’s guidelines for specific maintenance recommendations.