Ever wondered how to build a sewer jetter? In this guide, we’ll delve into the nitty-gritty of constructing your own powerful sewer jetter. From historical applications dating back to ancient civilizations’ sewage systems to modern adaptations, we’ll explore the evolution of sewer jetters and their significance today. Uncover step-by-step instructions, essential components, and safety measures crucial for assembling a reliable DIY sewer jetter. Whether you’re a DIY enthusiast or seeking cost-effective solutions for clogged drains, this comprehensive tutorial will equip you with the knowledge and skills needed to create an efficient sewer jetter.
Key Takeaways
- Understand the importance of sewer jetters for maintaining clean and clear drainage systems.
- Plan your DIY sewer jetter project carefully, considering factors such as budget, available space, and specific cleaning needs.
- Ensure you have the necessary tools and materials, including a pressure washer, to effectively build a sewer jetter.
- Follow the proper steps to convert a pressure washer into a functional sewer jetter to avoid potential safety hazards.
- Pay attention to the assembly of the sewer jetter nozzle to ensure proper functionality and effective cleaning.
- Select and prepare the appropriate hose for your sewer jetter to achieve optimal performance and durability.
Understanding Sewer Jetters
Functionality
Sewer jetters are essential for clearing clogs and debris from sewer lines using high-pressure water. They effectively clean pipes and remove blockages using jet technology in both residential and commercial plumbing systems. The versatility of sewer jetters makes them indispensable tools for maintaining a healthy plumbing system.
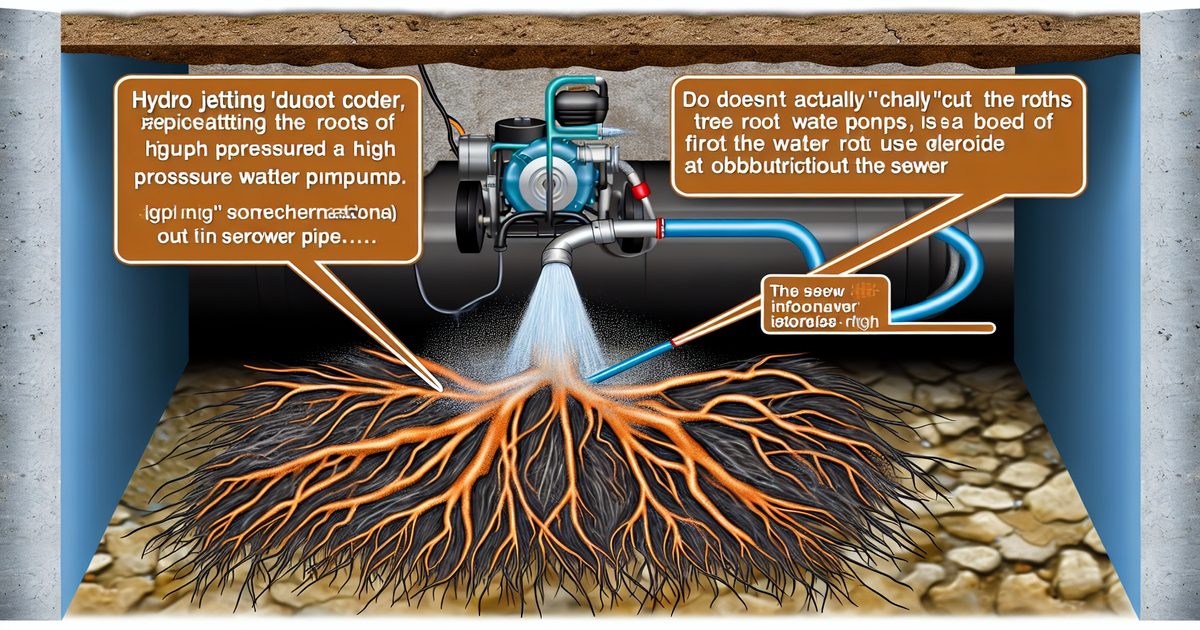
For example, when tree roots infiltrate sewer lines, a sewer jetter can efficiently break through the roots and clear the obstruction without causing damage to the pipes. This highlights how effective jet tools are in addressing diverse clogging issues.
Components
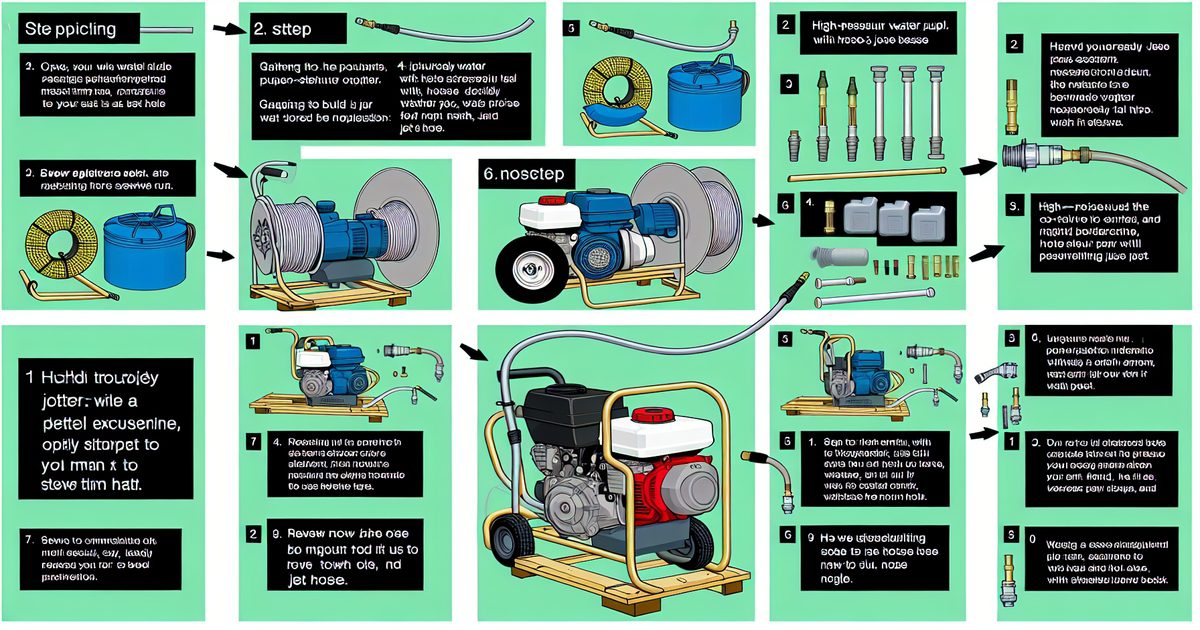
The main components of a sewer jetter include a pressure washer, hose, nozzle, and fittings. Safety gloves, eye protection gear, and even a sewer camera might be necessary for safe operation. Understanding each component is crucial as it ensures that you assemble an efficient and functional sewer jetter.
For instance, selecting the appropriate nozzle based on the nature of the clog or debris and using a jet is vital for achieving optimal cleaning results. It’s like choosing the right tool for different tasks – using a screwdriver instead of pliers when needed.
Benefits
Building your own sewer jetter offers numerous benefits such as preventing costly repairs by maintaining clean sewer lines while also providing an environmentally friendly alternative to chemical drain cleaners. Regular use of this jet equipment can significantly extend the lifespan of your plumbing system by keeping it free from obstructions.
Planning Your DIY Sewer Jetter
When designing a sewer jetter, it’s crucial to consider the pipe diameter and length. This ensures that the jetter can effectively clean various pipe sizes and lengths. The design should also prioritize maneuverability through different pipe configurations, allowing for seamless navigation in complex plumbing systems. Incorporating safety features like pressure relief valves is essential to prevent accidents and equipment damage.
For constructing a reliable sewer jetter, selecting high-quality, durable materials is paramount. These materials need to be able to withstand high-pressure water flow and potential debris within the pipes. Opting for corrosion-resistant materials ensures longevity and performance in challenging environments such as underground sewage systems. The choice of materials significantly impacts the overall effectiveness and efficiency of the sewer jetter.
Prioritizing safety when building or operating a sewer jetter is non-negotiable. Always wear appropriate protective gear such as gloves, goggles, and clothing that shields against splashes or debris during operation. It’s imperative to strictly adhere to manufacturer guidelines for safe operation of the pressure washer and other associated equipment.
Be mindful of potential hazards related to high-pressure water usage and moving parts when using a sewer jetter. Understanding these risks helps in taking necessary precautions while working with this powerful cleaning tool.
Tools and Materials Needed
Essential Tools
To build a sewer jetter, you’ll need essential tools such as wrenches, pliers, and a tape measure. These tools are crucial for assembling the components of the sewer jetter effectively. Having a pipe cutter or hacksaw is necessary for cutting the high-pressure hose to the required length. This ensures that the hose fits perfectly and functions efficiently when connected to other parts of the jetter.
Access to a pressure gauge is also essential when building a sewer jetter. The pressure gauge allows you to monitor and adjust pressure levels accurately during operation. This is important for ensuring that the sewer jetter operates at optimal pressure levels without risking damage to its components or compromising its effectiveness in clearing blockages.
Required Materials
When building a sewer jetter, it’s crucial to gather all the required materials beforehand. These include high-pressure hoses, nozzles, and fittings specifically designed for use in sewer jetters. It’s important to ensure that these materials are compatible with each other and capable of withstanding high water pressures without leaking or failing.
In addition to these components, you will also need a pressure washer capable of producing sufficient water pressure for powering the sewer jetter effectively. Lastly, Teflon tape or thread sealant is essential for creating leak-free connections between various fittings and hoses used in constructing the sewer jetter.
Converting a Pressure Washer
To begin building a sewer jetter, assemble the necessary tools and materials in a well-lit workspace. This includes items such as safety goggles, gloves, a high-pressure hose, and fittings. Measure and cut the high-pressure hose according to the desired length for your sewer jetter. Ensure that you have enough space to work comfortably without any obstructions.
Follow specific step-by-step instructions provided by the manufacturer for assembling the components of your sewer jetter system. This may involve connecting the hose to the pressure washer and attaching appropriate nozzles for effective cleaning. Pay close attention to each step to ensure proper assembly and functionality of your homemade sewer jetter.
Ensure that all attachments such as nozzles and fittings are compatible with your sewer jetter system. Compatibility between attachments is crucial for achieving optimal cleaning performance without any leaks or malfunctions during operation. Check for any adaptors or additional fittings needed to achieve proper attachment compatibility based on your specific pressure washer model.
It’s important to verify compatibility between different attachments before using them together in order to prevent damage or inefficiency during use.
Properly adjust the pressure settings on the pressure washer based on the specific requirements of your sewer system. Monitoring and adjusting pressure levels is essential for effective cleaning without causing damage to pipes due to excessive force or inadequate water flow.
Be sure that you understand how changes in pressure can impact cleaning efficiency before making adjustments so that you can avoid potential issues down the line.
Assembling the Sewer Jetter Nozzle
Nozzle Types
They play a crucial role in the effectiveness of a sewer jetter. For instance, rotating nozzles are excellent for cutting through tough blockages, while flusher nozzles are ideal for clearing out debris from pipes. It’s essential to choose the right nozzle type based on the specific cleaning requirements.
For example, if you’re dealing with stubborn clogs, using a penetrator nozzle can help break through and dislodge the obstruction. Each type serves a unique purpose in ensuring thorough cleaning results.
Different manufacturers may offer various nozzle types, so it’s important to explore options and select the most suitable one for your needs.
Assembly Instructions
Following precise assembly instructions is paramount when putting together a sewer jetter nozzle. Properly connecting all components according to manufacturer guidelines ensures optimal functionality and safety during operation.
To ensure secure connections, carefully align fittings before tightening them securely. This helps prevent leaks or malfunctions during use. Referring to detailed assembly instructions provided by the manufacturer guarantees that every step is executed accurately.
Hose Selection and Preparation
Hose Specifications
When building a sewer jetter, it’s crucial to select high-pressure hoses that meet specific specifications. These hoses need to possess the right material strength and flexibility for efficient operation. Factors such as burst pressure rating, length, diameter, and material composition must be carefully considered. For instance, a hose with a burst pressure of at least 4,000 PSI is ideal for sewer jetters.
Understanding these specifications ensures safe and effective operation of the sewer jetter system. The right hose will withstand the high pressures involved in clearing out clogs from drains effectively without compromising safety.
Cutting and Fitting
Accurate cutting of the high-pressure hose is essential when fitting it into the sewer jetter system. Clean cuts are necessary to ensure proper fitting within the system. Using appropriate tools like a pipe cutter or hacksaw helps achieve precise cuts that fit securely within the system.
Properly fitting hoses with secure connections prevents leaks during operation. Leaks can lead to reduced water pressure during use or even pose safety hazards due to escaping pressurized water.
Testing Your Sewer Jetter
Dry Run
Before using the sewer jetter in actual plumbing lines, it’s crucial to perform a dry run. This allows you to test its functionality and identify any potential issues before initiating cleaning operations. Verify that all components are functioning correctly during this trial.
For example, if you notice any leaks or irregular pressure during the dry run, it’s essential to address these issues before proceeding with the actual cleaning process. By conducting a thorough dry run, you can ensure that your sewer jetter is ready for effective operation.
Safety Checks
Conducting thorough safety checks on all equipment before operating the sewer jetter is of utmost importance. Inspect hoses, fittings, nozzles, and other components for any signs of wear or damage. It’s also vital to ensure that all safety measures are in place before beginning any cleaning procedures.
For instance, checking for worn-out hoses or damaged fittings can prevent potential accidents or malfunctions while using the sewer jetter. By prioritizing safety checks, you can mitigate risks and maintain a secure working environment.
Performance Evaluation
After utilizing the sewer jetter, evaluating its performance in clearing clogs and debris from pipes is essential. Assess whether it effectively restored proper flow within the plumbing system and note areas where performance can be improved or optimized.
Maintenance and Troubleshooting
Routine Checks
Regularly inspecting all parts of the sewer jetter system is crucial for keeping it in top condition. By conducting routine checks, you can catch any potential issues early on before they turn into major problems. Scheduled maintenance also ensures that the equipment remains reliable over time.
For instance, checking the hoses for signs of wear and tear can prevent unexpected bursts during operation. Similarly, examining the nozzles for debris buildup helps maintain consistent water flow and pressure during cleaning tasks.
Another essential aspect of routine checks involves inspecting the pump’s functionality to identify any irregularities that could affect its performance. By adhering to a maintenance schedule, you can avoid costly repairs while maximizing the lifespan of your sewer jetter system.
Common Issues
Sewer jetters may encounter various common issues such as nozzle clogging, hose kinking, or inadequate water pressure. Addressing these issues promptly is vital for ensuring consistent performance during cleaning operations.
When a nozzle becomes clogged with debris or mineral buildup, it hampers the effectiveness of the sewer jetter in clearing blockages. Regularly cleaning and maintaining nozzles can prevent this issue from affecting your work efficiency.
Addressing low water pressure by checking pump functionality or adjusting settings accordingly is crucial for maintaining optimal performance during cleaning tasks.
Solutions
- Implement regular maintenance practices to prevent common issues from occurring frequently.
- Utilize appropriate nozzle types based on specific blockage conditions.
- Address low water pressure issues by checking pump functionality or adjusting settings accordingly.
Final Remarks
You’ve now gained a solid understanding of how to build your own sewer jetter, from planning and gathering the necessary tools to assembling and testing the equipment. With this knowledge in hand, you’re well-equipped to tackle this DIY project with confidence. Remember, safety should always be your top priority throughout the entire process. Regular maintenance and troubleshooting will also be crucial for keeping your sewer jetter in top working condition.
Now it’s time to roll up your sleeves and get started on creating your very own sewer jetter. Don’t hesitate to refer back to these steps as you embark on this project. Good luck, and may your DIY sewer jetter serve you well for years to come!
Frequently Asked Questions
How difficult is it to build a sewer jetter at home?
Building a DIY sewer jetter can be moderately challenging, especially if you’re familiar with basic plumbing and mechanical skills. It involves modifying a pressure washer and assembling various components, so attention to detail is crucial.
What tools are essential for constructing a homemade sewer jetter?
You’ll need basic hand tools like wrenches, pliers, and screwdrivers, as well as specific equipment such as a pressure washer, nozzle kit, and appropriate hoses. Ensuring you have the right tools beforehand will make the construction process smoother.
Is it safe to convert a pressure washer into a sewer jetter?
When done correctly with proper precautions and following manufacturer guidelines, converting a pressure washer into a sewer jetter can be safe. However, it’s important to understand the risks involved in modifying machinery and take necessary safety measures.
Can any type of hose be used for the DIY sewer jetter?
No. Selecting the right hose is critical for optimal performance and safety. Flexible thermoplastic hoses are commonly recommended due to their durability under high-pressure conditions. Using an unsuitable hose may lead to inefficiency or potential hazards during operation.
How often does maintenance need to be performed on a homemade sewer jetter?
Regular maintenance is essential for ensuring your DIY sewer jetter functions effectively over time. This includes cleaning the nozzle regularly, checking for leaks in hoses or connections, and inspecting all components before each use.
