Installing a sump pump pit is an essential part of ensuring an efficient and reliable sump pump system. Proper installation can help prevent flooding, water damage, and costly repairs. Our team of experts has compiled a list of tips and tricks to help you successfully install your sump pump pit.
Key Takeaways:
- Proper installation of a sump pump pit is crucial for the longevity and efficiency of your system.
- Choosing the correct pit size is important to ensure maximum water collection and pump performance.
- Excavation and pit lining are essential steps to ensure a successful installation.
- Effective water collection techniques help ensure the optimal functioning of your sump pump system.
- Professional assistance is recommended for the best results, but DIY installation is possible with the right guidance and tools.
Sump Pump Pit Installation Guide
Installing a sump pump pit is essential to keep your basement or crawl space dry. Here, we have compiled a comprehensive installation guide with step-by-step instructions to ensure the success of your sump pump pit installation.
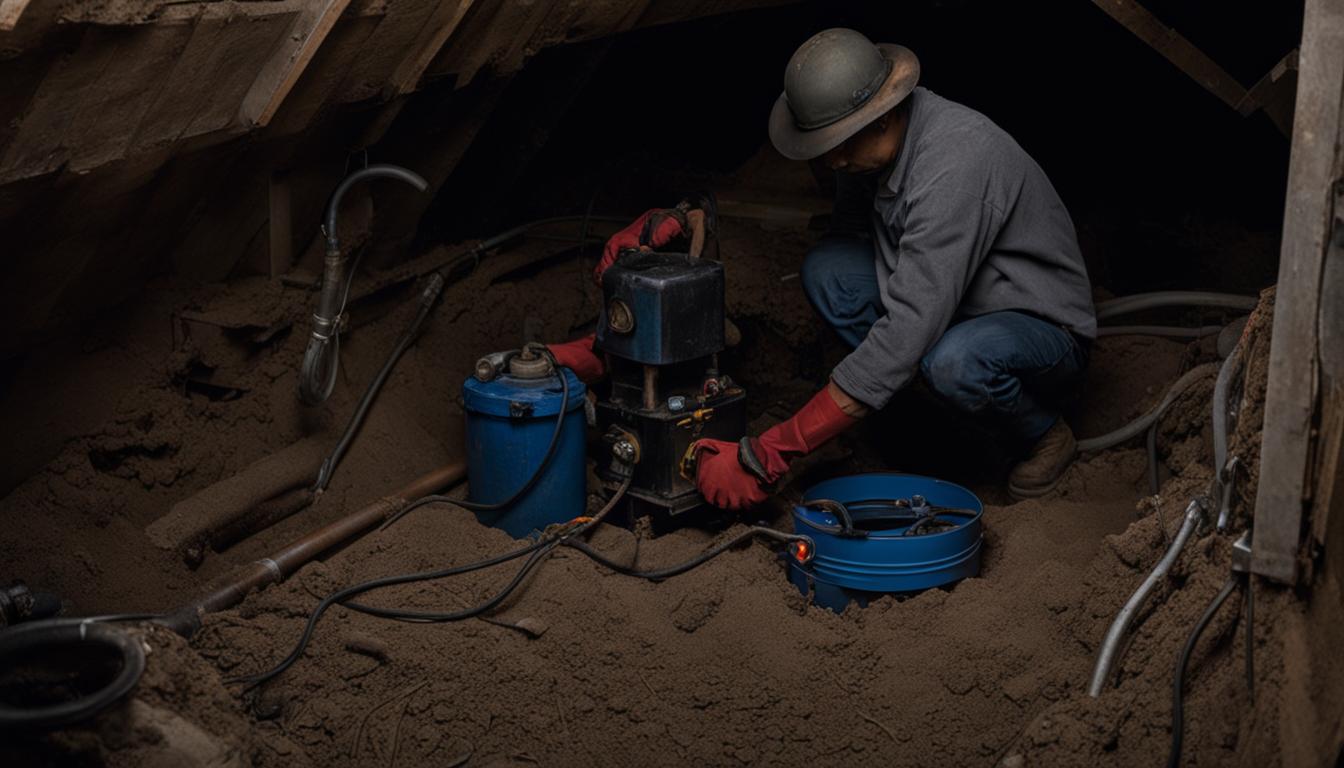
Step 1: Excavation
The first step in installing a sump pump pit is to excavate the area where the pit will be located. The size of the pit will depend on the size of your basement or crawl space and the amount of water that needs to be collected. Generally, a pit measuring at least 18 inches in diameter and 24 inches in depth is recommended.
Tip: Ensure that the excavation area is free of debris, rocks, and other obstacles that may interfere with the pit installation or cause damage to the pump.
Step 2: Lining
Once the excavation is complete, it’s time to line the pit with a protective material. One popular choice is a sump pump liner made of durable plastic that prevents water from damaging the structure of the pit. Lining your pit also makes it easier to clean and maintain.
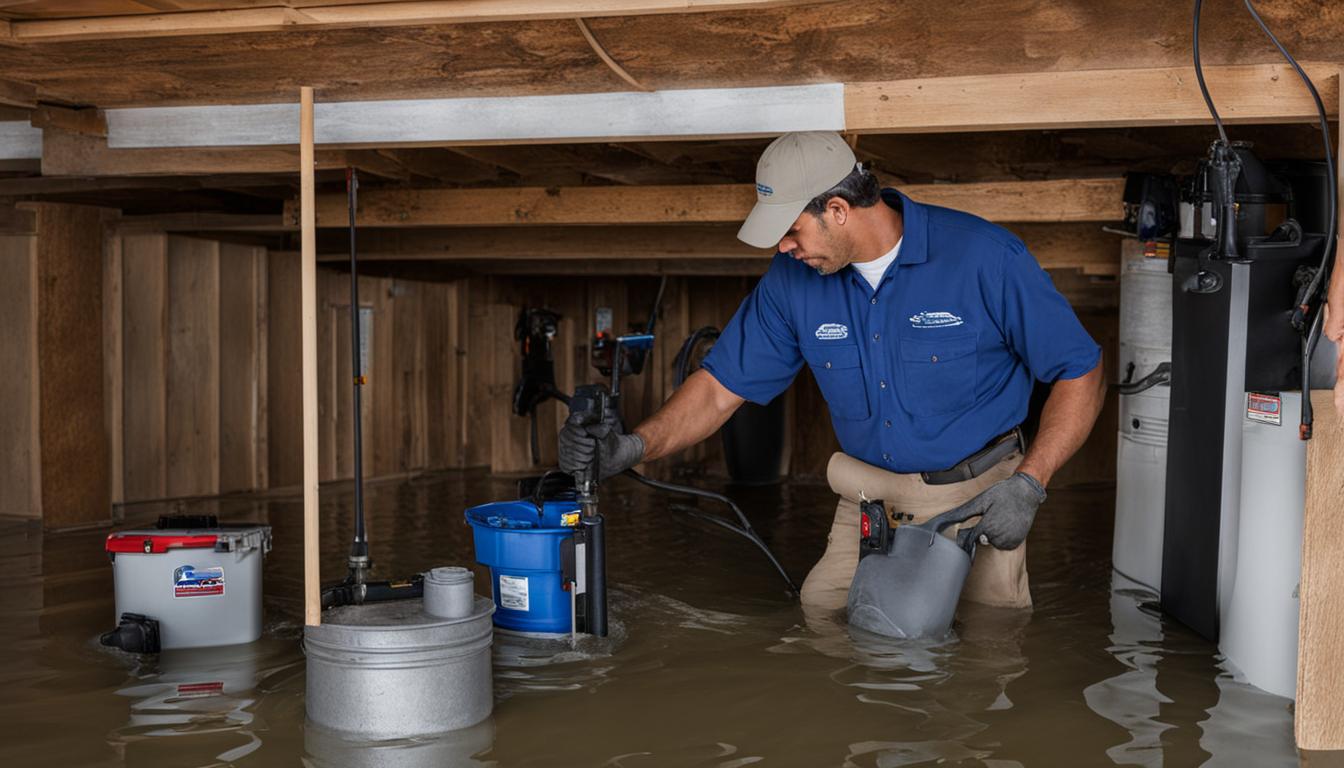
Step 3: Installing the Pump
The next step is to install the sump pump in the pit. The pump should be placed on a solid surface, such as a brick or concrete block, to prevent it from settling in the sediment that may accumulate on the bottom of the pit. Connect the discharge pipe to the outlet on the pump, which will carry water outside the building.
Tip: It’s essential to choose the right size pump that matches the needs of your basement or crawl space.
Step 4: Cover the Pit
After installing the pump, cover the pit with a lid to prevent debris or objects from falling in and blocking the pump. Make sure the lid fits tightly, but is still easily removable for maintenance purposes.
Step 5: Test the System
Once the installation is complete, test the system by pouring a bucket of water into the pit. The pump should activate and remove the water from the pit, discharging it through the outlet pipe.
Tip: Regular maintenance and testing of your sump pump pit will ensure optimal performance and prevent water damage to your property.
By following these installation guidelines, you can create a reliable and efficient sump pump pit that will keep your basement or crawl space dry for years to come.
Choosing the Right Pit Size
Choosing the proper size for your sump pump pit is essential for the efficient operation of your system. The size of your pit will depend on several factors, including the size of your basement or crawl space, the amount of water buildup you typically experience, and the capacity of your sump pump.
One rule of thumb to follow is to have a sump pit that is at least 18 inches in diameter and 24 inches deep. This will accommodate most residential sump pumps. However, if you have a larger basement or crawl space, you may consider installing a larger pit to increase your pump’s capacity.
It’s important to note that a pit that is too small will not allow for proper water accumulation, which will lead to continuous cycling of your sump pump, reducing its lifespan. On the other hand, a pit that is too large may cause your pump to short-cycle, leading to premature failure.
Factors to Consider
When determining the size of your sump pit, consider the following factors:
- The size of your basement or crawl space
- The potential water buildup in your area
- The capacity of your sump pump
- The amount of time you want your sump pump to run during a flooding event
It’s also important to consider any local codes or regulations that govern the installation of sump pits.
Recommended Pit Dimensions
Based on our experience, we recommend the following dimensions for sump pits:
| Basement Size | Pit Diameter | Pit Depth |
|---|---|---|
| Up to 1,000 sq. ft. | 18 inches | 24 inches |
| 1,000 – 1,500 sq. ft. | 24 inches | 24 inches |
| 1,500 – 2,000 sq. ft. | 24 inches | 30 inches |
Keep in mind that these are general guidelines and that your specific situation may require a different pit size. Consulting with a professional can help ensure that you choose the correct dimensions for your sump pump pit.
Pit Excavation Tips
Proper excavation is essential for the successful installation of your sump pump pit. The excavation should be deep enough to accommodate the sump pump and the pit liner, as well as leaving enough space around the pit to allow for easy maintenance. Here are some excavation tips to follow:
- Start by marking the area where the pit will be dug, ensuring it’s located in the lowest point of the basement floor.
- Consider the type of soil you’re digging in; different soil types may require specific excavation techniques. For instance, rocky soil may require drilling equipment for proper excavation.
- Use a shovel or a backhoe to dig the pit, removing soil in sequential layers until the desired depth is reached. We recommend excavating the pit at least two feet deep.
- Ensure that the walls and floor of the pit are level and compacted to ensure stability and prevent cave-ins. This is particularly important if you’re using a precast pit.
- If you’re using a plastic liner, level the bottom of the pit with sand or gravel before placing the liner in the pit.
- Be mindful of any utilities or drainage pipes that may be in the area. Consider hiring a professional excavation contractor if you’re unsure about the presence of any underground infrastructure.
Proper excavation is key to setting up a reliable and efficient sump pump system. We recommend taking the time to ensure that the pit is excavated correctly and in a safe manner. This will help prevent issues down the line and result in a long-lasting installation.
Pit Lining Methods
The lining of a sump pump pit is a crucial component for protecting the pit from damage and preventing soil contamination. There are several lining methods available, each with their own advantages and disadvantages. In this section, we will discuss different pit lining methods and guide you on choosing the best option for your specific needs.
Cement
One of the most popular pit lining methods is to use cement. This method involves applying a layer of cement on the pit walls and floor to create a sturdy, durable lining. Cement is resistant to wear and tear, preventing the pit from deteriorating over time. It also prevents soil contamination by creating a barrier between the pit and the surrounding soil.
| Advantages | Disadvantages |
|---|---|
| Highly durable | Requires professional application |
| Resists wear and tear | May crack over time |
| Protects against soil contamination | May be expensive |
Plastic
Another popular lining method is to use a plastic liner. This involves placing a plastic liner on the pit walls and floor, creating a barrier between the pit and the surrounding soil. Plastic liners are easy to install and can be customized to fit the exact dimensions of your pit.
| Advantages | Disadvantages |
|---|---|
| Easy to install | May not be as durable as other methods |
| Customizable | May puncture or tear over time |
| Affordable | May not protect against all types of soil contamination |
Clay
Clay is a traditional pit lining material that can be effective in certain situations. It involves lining the pit with a layer of clay, which creates a barrier against soil contaminants. However, clay is not as durable as other methods and may require frequent maintenance.
| Advantages | Disadvantages |
|---|---|
| Effective against soil contaminants | Not as durable as other methods |
| May be readily available | May require frequent maintenance |
| Affordable |
Choosing the right pit lining method depends on several factors, such as cost, durability, and level of soil contamination. It’s important to weigh the pros and cons of each method and consult with a professional to determine the best option for your specific needs.
Effective Water Collection
Proper water collection is essential to ensure your sump pump system runs smoothly. The effectiveness of your water collection can be impacted by various factors, such as the installation of the pump or the pit size. Here are some tips to maximize your water collection:
- Install the pump correctly: The sump pump should be installed at the lowest point in the pit, allowing it to collect the maximum amount of water. The pump should also be level to ensure proper operation.
- Check the float switch: The float switch is responsible for turning your sump pump on and off. Ensure that it is functioning correctly and is not obstructed or jammed in any way.
- Keep the pit clean: Any debris or sediment in the sump pump pit can affect water flow and decrease the efficiency of your system. Regularly cleaning your pit will help maximize water collection.
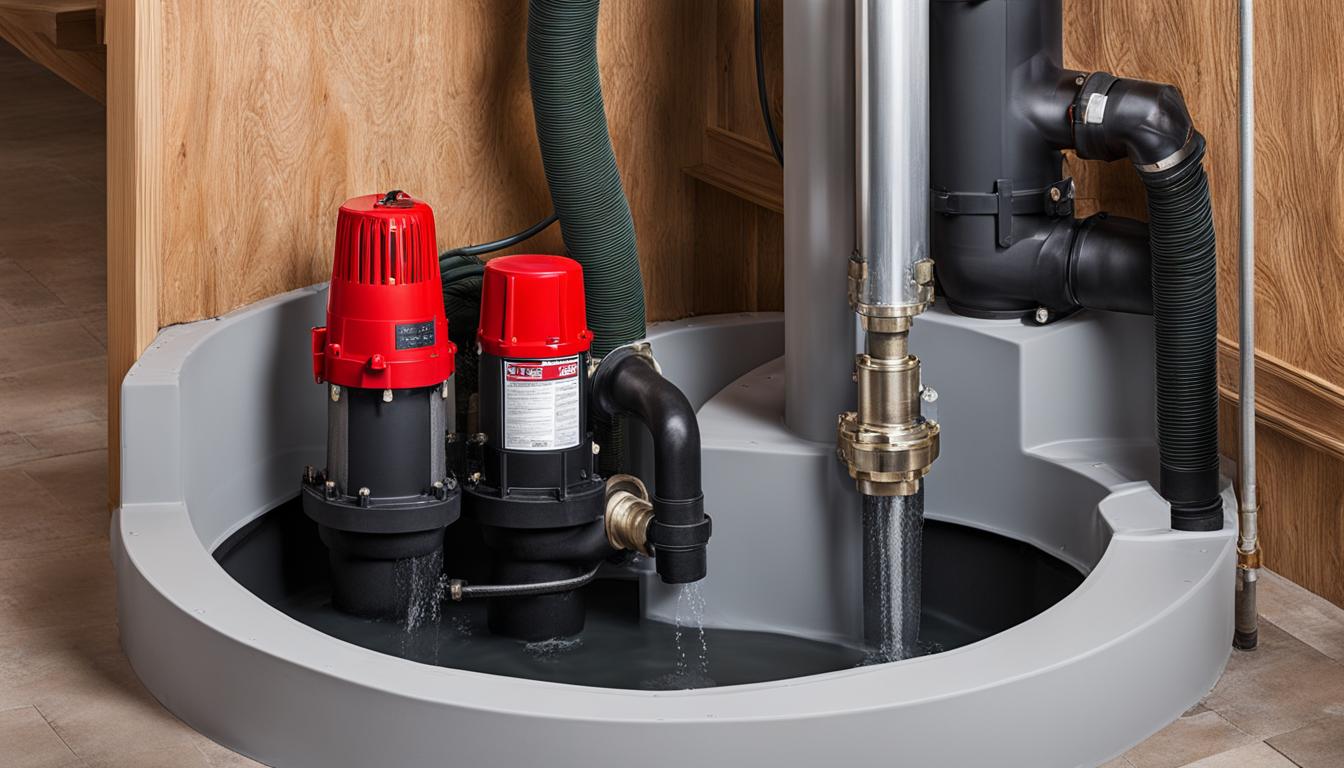
Additionally, consider installing a backup system to ensure water collection in case of power outages or pump failure. A battery backup or second pump can provide peace of mind and protection against flooding.
DIY Advice for Pit Construction
Constructing your sump pump pit on your own can be a daunting task, but with the right guidance, you can do it successfully. Here are some tips for building a sump pump pit:
- Choose the right location: First, you need to determine the best spot for your sump pump pit. Look for an area that is close to the main drain system and has a slope to ensure water flows into the pit easily. Avoid placing the pit in high traffic areas and ensure it is accessible for maintenance.
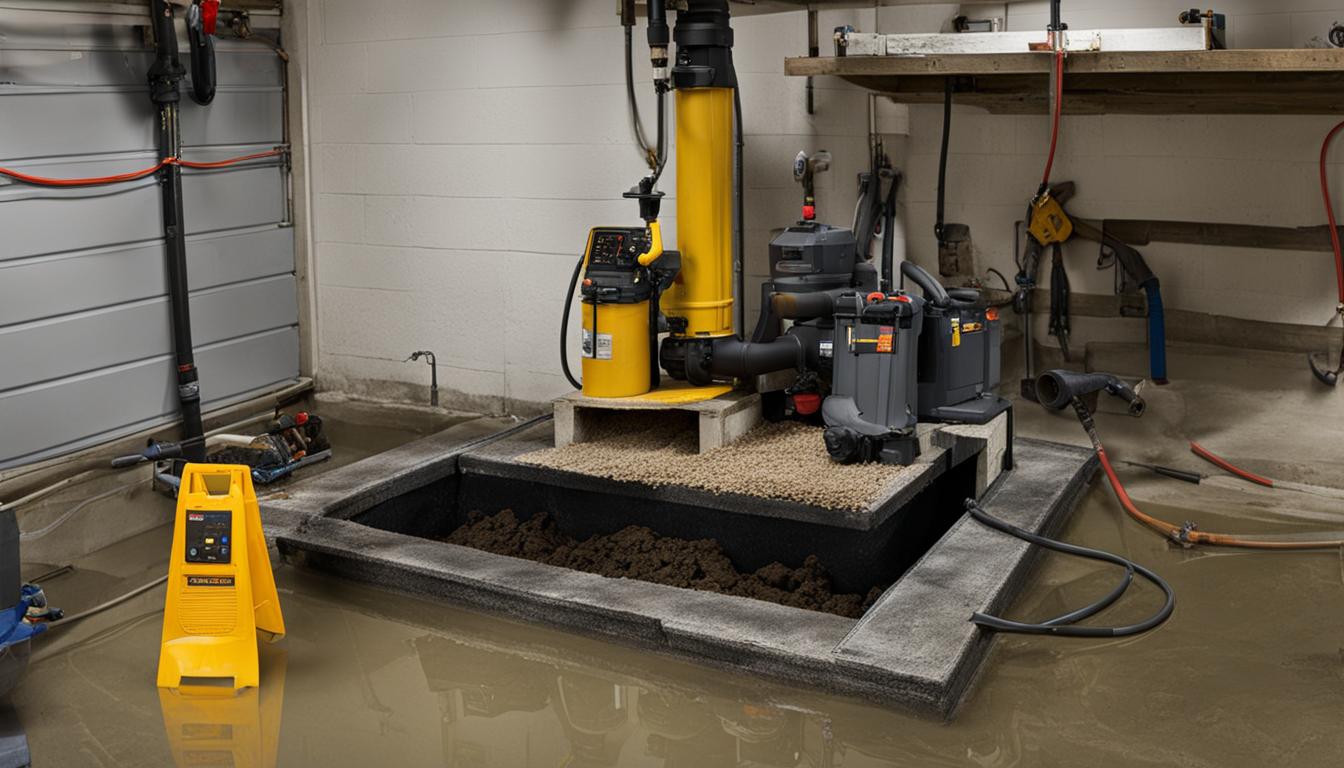
- Excavate the pit: Use a shovel and a pickaxe to excavate the pit according to the recommended dimensions. To ensure proper water collection, dig the pit deep enough to accommodate the sump pump and line the bottom with a layer of gravel.
- Install the sump pump: Place the sump pump in the center of the pit and connect it to the discharge pipe. Ensure the pump is level and stable, and the float switch is unobstructed and functioning correctly.
- Line the pit: Once the pit is dug and the pump is installed, you need to line the walls with a suitable material. Rubber, polyethylene, and PVC are commonly used and readily available in hardware stores. Choose a product that is durable and easy to install.
- Test the system: Before closing the pit, test the system to ensure everything is working correctly. Fill the pit with water and observe the sump pump’s performance. If the pump is working efficiently, the water level should drop significantly within a few seconds.
- Cover the pit: Once testing is complete, cover the pit with a removable lid. This will prevent debris from falling inside and ensure the pump is easily accessible for maintenance and repairs.
Built to code, a DIY sump pump pit can save you a considerable amount of money on installation costs. However, you must ensure that the system is functioning correctly and meets all safety standards. If you’re unsure about any aspect of the installation, consider seeking professional assistance.
Ensure an Effective Setup
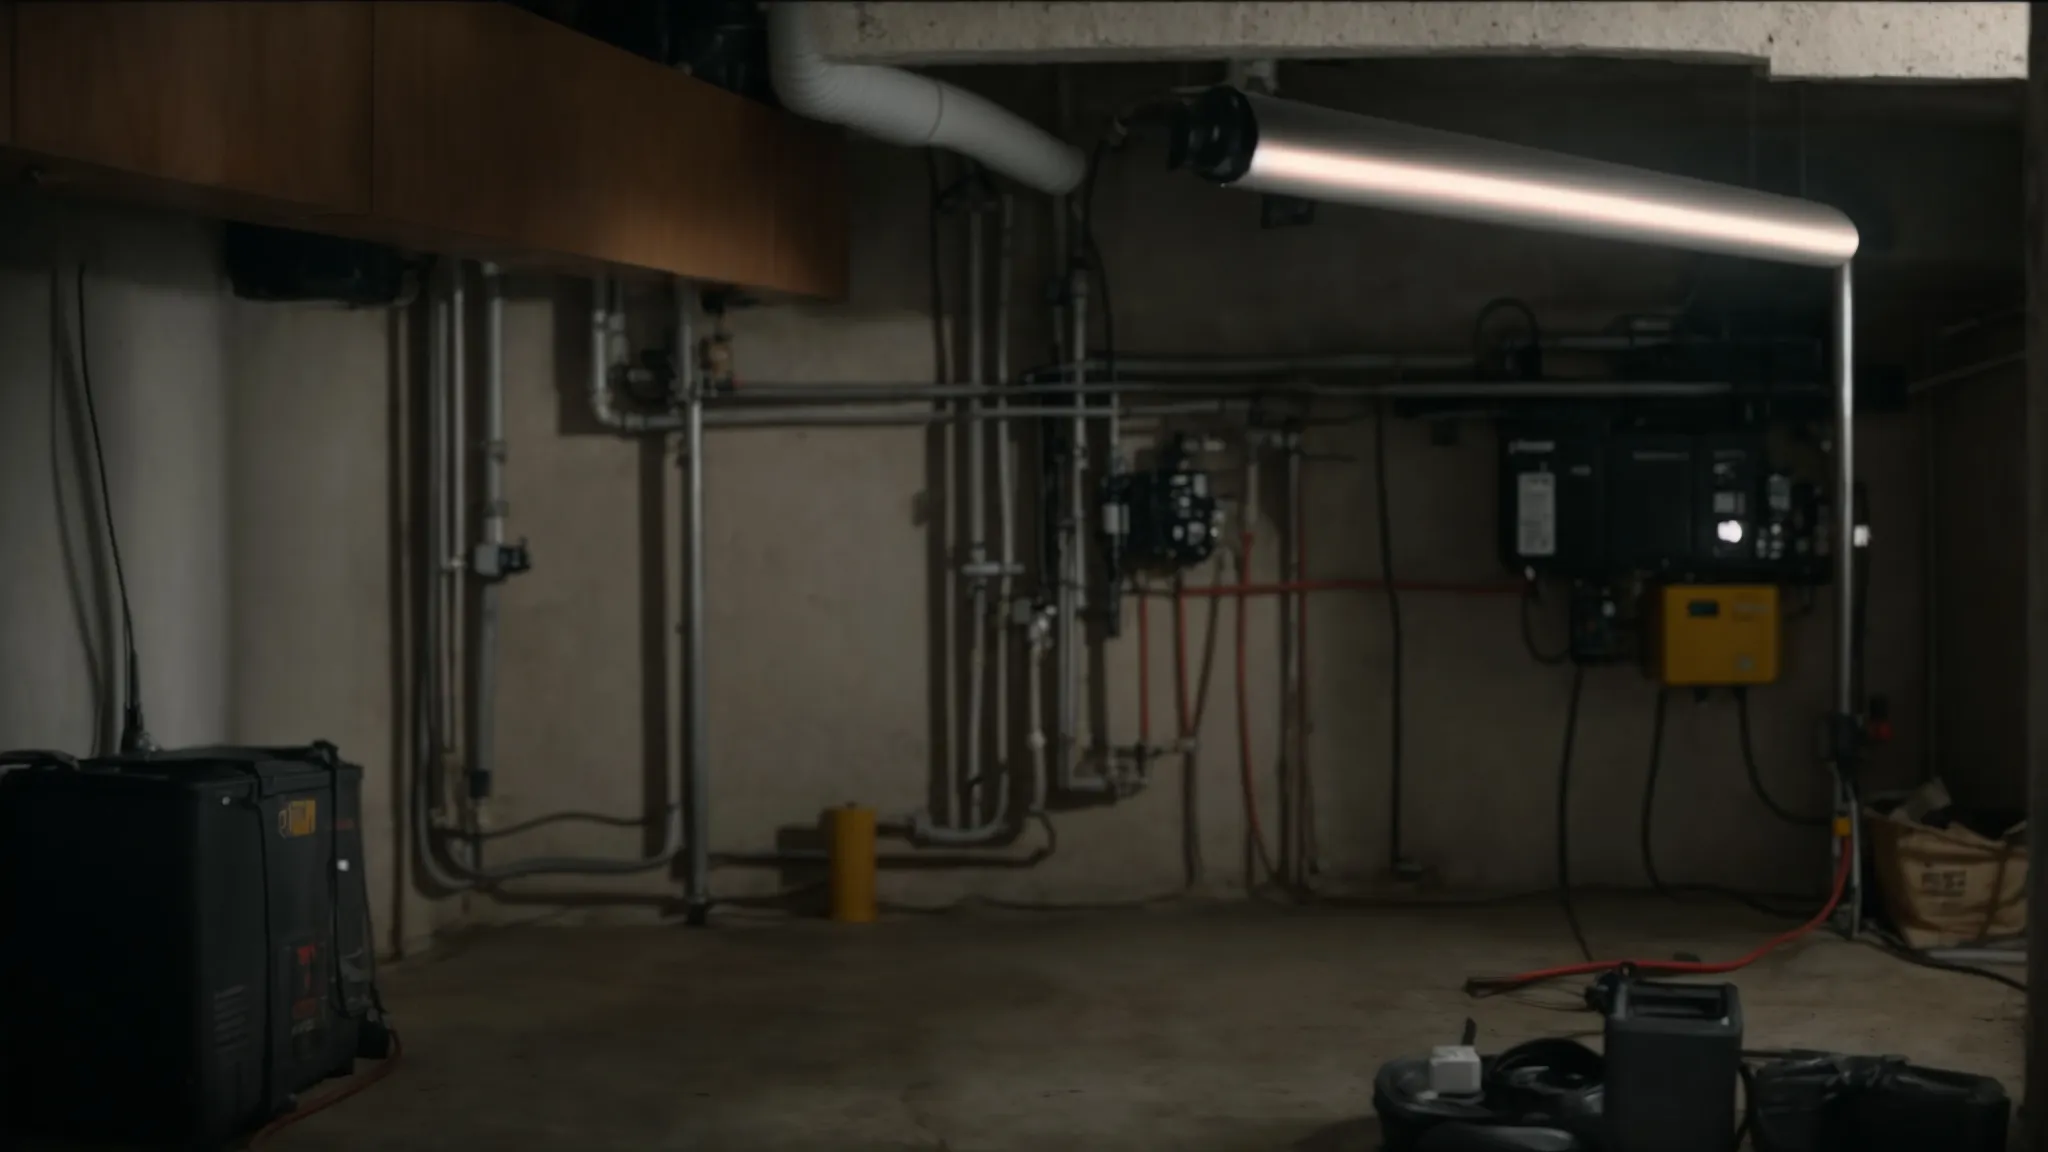
Now that your sump pump pit is installed, it’s time to ensure an effective setup for your entire system. Here are some key components to consider:
- Check valve: A check valve prevents pumped water from flowing back into the pit, reducing wear on the pump and ensuring smooth operation. Install it on the discharge pipe to keep water moving in one direction only.
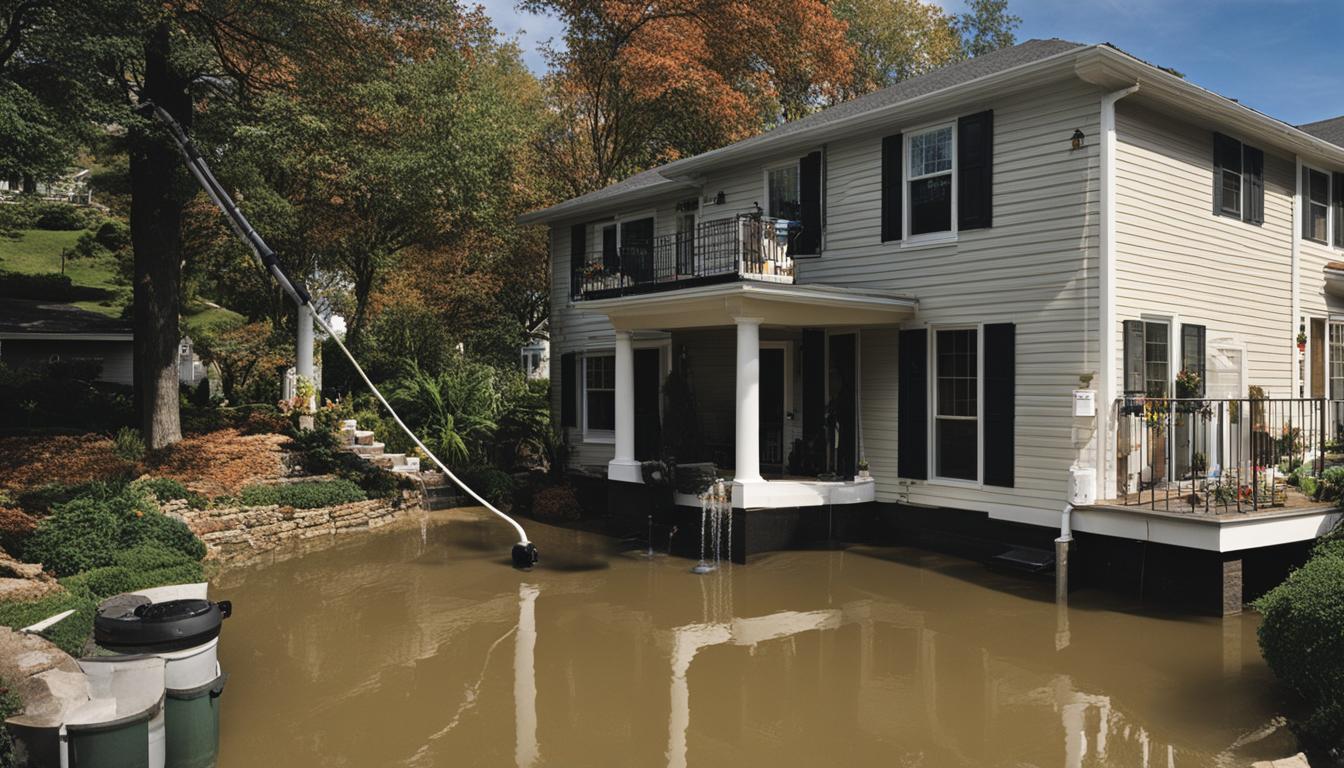
- Discharge line: Make sure your discharge line is properly sized and runs at a slope to direct water away from the foundation. It’s recommended to use PVC piping for durability.
- Battery backup: A backup system is essential to keep your sump pump working during a power outage. Consider investing in a battery backup system to keep your pump running even during an unexpected blackout.
- Alarm system: To alert you of any potential issues, install an alarm that will sound if the water level in your sump pit gets too high or if the pump fails. This could help prevent costly damage to your property.
- Maintenance schedule: Regular maintenance is key to ensuring the longevity and efficiency of your sump pump system. Create a maintenance schedule that includes inspecting and cleaning the pit, testing the pump, and checking the discharge line for any obstructions.
These components are crucial for ensuring that your sump pump system runs smoothly and efficiently. Remember to perform regular maintenance, and if any problems arise, don’t hesitate to reach out to a professional for assistance. With proper setup and maintenance, your sump pump will protect your property from water damage for years to come.
Conclusion
Installing a sump pump pit can be a challenging task, but with the right guidance, you can build a reliable and efficient system on your own. We’ve covered some essential tips and tricks, including proper pit sizing, excavation techniques, and lining methods. We’ve also discussed the importance of effective water collection and shared some practical DIY advice for constructing your sump pump pit.
By following these best practices, you can ensure the longevity and performance of your sump pump system. Whether you’re dealing with minor water leakage or severe flooding, a well-designed and properly installed sump pump pit can provide the protection your home needs.
If you’re uncertain about any aspect of the installation process, it’s always best to seek professional help from a licensed plumber or contractor. They can provide expert advice and ensure a safe and effective setup.
Remember, prevention is key when it comes to water damage. By investing in a quality sump pump system and following these installation tips and tricks, you can safeguard your home from costly and disruptive water damage for years to come.
FAQ
What is a sump pump pit?
A sump pump pit is a hole dug in the ground or basement floor to house the sump pump. It collects water and directs it to the pump for removal.
Why is proper sump pump pit installation important?
Proper installation ensures the efficiency and longevity of your sump pump system. It helps prevent issues such as water backup, flooding, and pump failure.
How do I choose the right pit size?
Consider factors like the size of your basement, the amount of water expected, and the type of pump you have. It is generally recommended to have a pit that is at least 18 inches in diameter and 24 inches deep.
What tips can you provide for pit excavation?
Excavate the pit deep enough to prevent water from overflowing. Ensure proper sloping to allow water to flow towards the pump. Remove any debris or rocks that may interfere with the pump’s operation.
What are the different pit lining methods?
Common pit lining methods include using gravel, concrete, or plastic liners. Each method has its pros and cons, so choose the one that best suits your needs and budget.
How can I ensure effective water collection in my sump pump pit?
Make sure the pit is located in the lowest part of your basement or crawl space. Install a drain tile system to channel water towards the pit. Regularly clean the pit to prevent clogs and ensure proper water flow.
Can I construct my sump pump pit myself?
Yes, you can. However, it is important to follow proper guidelines and ensure proper construction techniques. Seek professional advice if you are unsure about any aspect of the DIY pit construction.
What components are necessary for an effective sump pump setup?
A sump pump, check valve, discharge pipe, and a backup power source (optional) are essential components for an effective sump pump system setup.