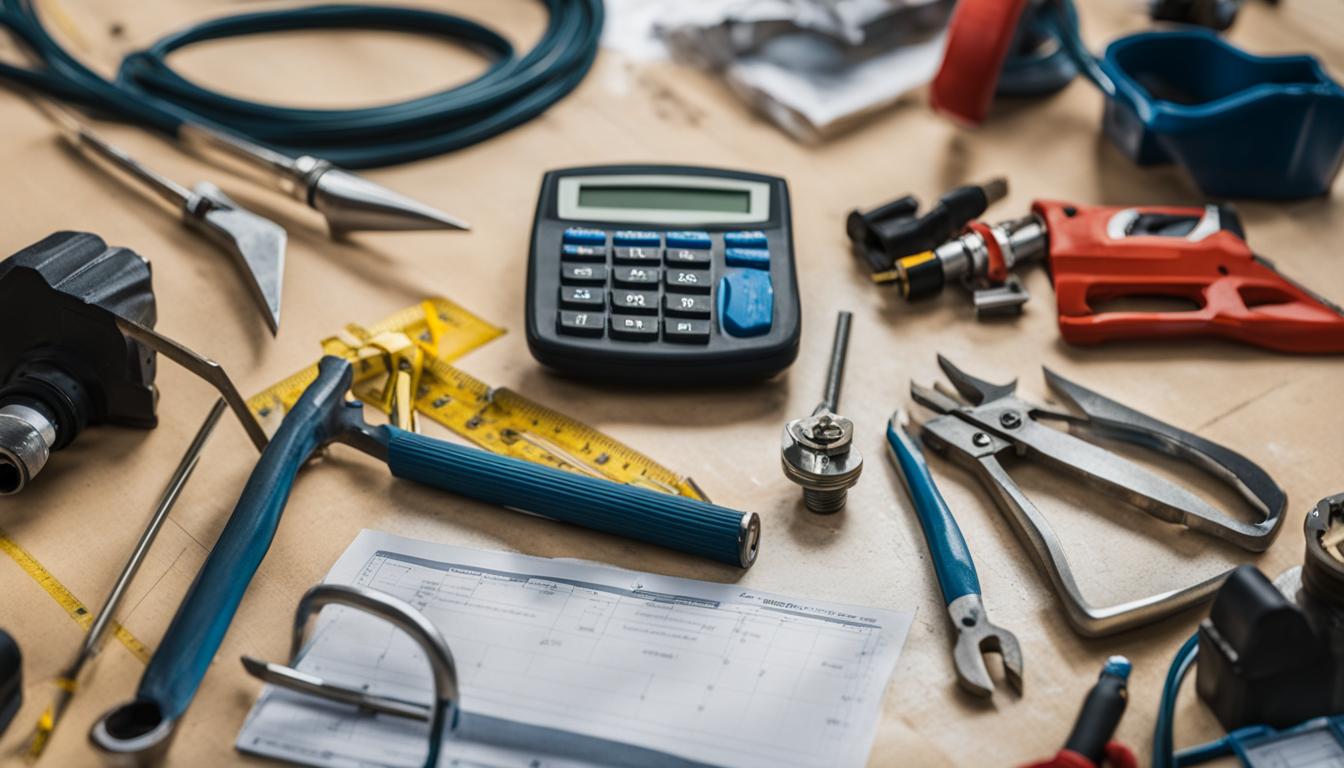
When it comes to protecting your basement from water damage, a sump pump is an essential component of any homeowner’s toolkit. However, before installing a sump pump system, there are some important steps to take to ensure a smooth and efficient setup process. In this section, we will guide you through the necessary pre-installation steps to prepare your home for sump pump installation, including assessing your needs, clearing the installation area, ensuring proper drainage, checking electrical requirements, installing a sump pit, choosing the right sump pump, connecting the sump pump system, and testing and maintenance. Follow these expert homeowner tips to get your installation readiness right.
Key Takeaways:
- Preparing your home for sump pump installation is crucial for a smooth and efficient setup process.
- Assess your needs for a sump pump, including your basement’s vulnerability to flooding and the amount of water you need to manage.
- Clear the installation area of any clutter or obstructions to ensure easy access to the installation site.
- Ensure proper drainage by checking your downspouts, gutters, and grading around your home.
- Verify that you have the appropriate electrical setup and consider installing a dedicated outlet.
Assessing Your Needs for a Sump Pump
Before starting the installation process, we recommend assessing your needs to ensure you choose the right sump pump and plan for an efficient installation process. Here are some key factors to consider:
- Basement vulnerability: Evaluate how at-risk your basement is for flooding. Factors such as the location of your home and climate can impact the likelihood of flooding.
- Water Management Needs: Consider the amount of water you need to manage. If you have a large basement or expect heavy rainfall, you may need a more powerful pump with higher capacity.
- Existing Drainage Systems: Assess whether your home has any existing drainage systems. If so, you may need to modify them or integrate them with the sump pump system to ensure efficient water management.
Setup Planning
Once you have assessed your needs, it’s important to plan for the sump pump installation process. This includes considering factors such as the best location for the sump pump, the necessary electrical setup, and any additional features such as backup options to ensure reliable functionality.
By carefully planning ahead, you can ensure an efficient installation process and minimize the risk of any complications or delays.
Efficient Installation
An important component of assessing your needs is selecting the right sump pump for your home. This includes considering factors such as the pump’s horsepower and capacity, as well as any backup options.
Choosing the right sump pump can ensure efficient water management, while minimizing energy costs and ensuring the longevity of the pump.
In addition, ensuring proper drainage and clearing the installation area can also contribute to an efficient installation process. By taking the time to prepare properly, you can avoid any complications or setbacks that may arise during the installation process.
Installation Readiness
In summary, assessing your needs, planning for the installation, and selecting the right sump pump are crucial steps to ensuring installation readiness and efficient water management in your basement.
By following these expert tips, you can prepare your home for sump pump installation with confidence and ensure a reliable and effective system to protect your home from water damage.
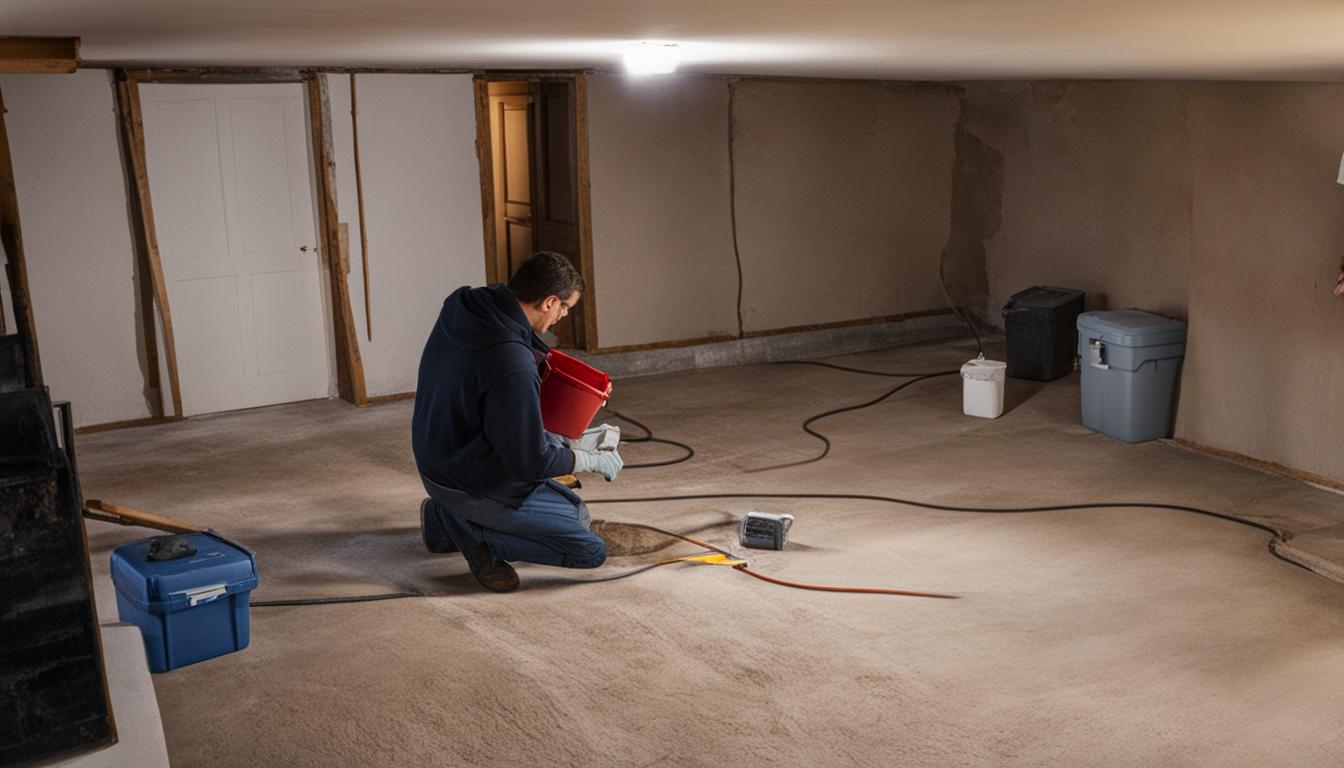
Clearing the Installation Area
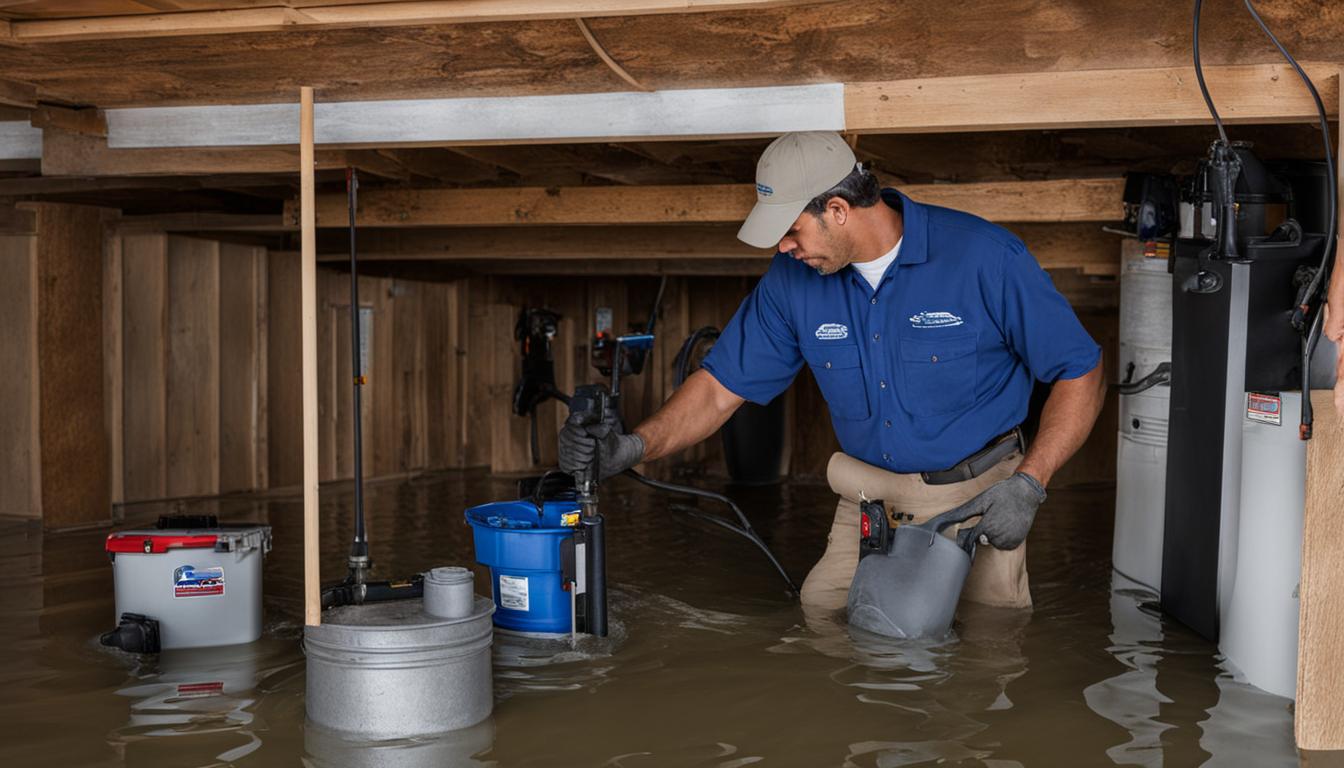
One of the first and most important steps in preparing your home for sump pump installation is clearing the designated area. This will ensure that the installation process goes smoothly and safely, with no obstructions or hazards in the way. Follow these pre-installation steps for area clearance:
- Remove any clutter or debris from around the installation site.
- Clear any obstacles or hindrances to easy access to the site.
- Create a clean, well-lit workspace with ample room for the installation process.
Clearing the installation area is a crucial component of installation readiness and requires attention to detail to ensure a successful setup.
Ensuring Proper Drainage
Efficient installation of a sump pump system requires proper drainage. Before installing the pump, we recommend checking and maintaining your home’s drainage system. This step ensures that the sump pump system can manage water effectively and minimize the risk of flooding. Follow these pre-installation steps to ensure that your home’s drainage system is ready:
- Check and clean your gutters and downspouts regularly to prevent clogging. This will ensure that water flows freely away from your home’s foundation.
- Ensure that the ground is graded away from the foundation to allow water to drain away from your home.
- Check the status of your home’s drainage systems, such as French drains or exterior drain tiles, to ensure they’re functioning correctly.
- If necessary, make any necessary repairs to your home’s drainage system before installing your sump pump system.
By taking these steps, you can ensure efficient installation of your sump pump system and prevent the possibility of water damage.
Checking Electrical Requirements
Before proceeding with the sump pump installation, it’s crucial to check your electrical setup. Ensuring that your circuit breaker can handle the pump’s power requirements is essential for efficient and safe operation. Failure to verify these details beforehand may result in costly damages to your system.
We recommend that you consider installing a dedicated outlet for your sump pump to avoid overloading other electrical components in your home. In addition, a professional electrician should carry out any electrical installations or upgrades necessary to meet safety codes and standards.
Here are a few tips to help you prepare for the electrical requirements:
- Check your existing electrical outlets and determine if they can accommodate a sump pump.
- Calculate the power requirements of your sump pump and ensure that the circuit breaker can handle it.
- Consider installing a GFCI outlet for added protection from electrical shocks and surges.
In conclusion, ensuring an adequate electrical setup is just one of the many pre-installation steps necessary to prepare for a sump pump installation. Taking the time to verify and upgrade your electrical systems will help you avoid any unwanted complications and ensure the safe and efficient operation of your sump pump system.
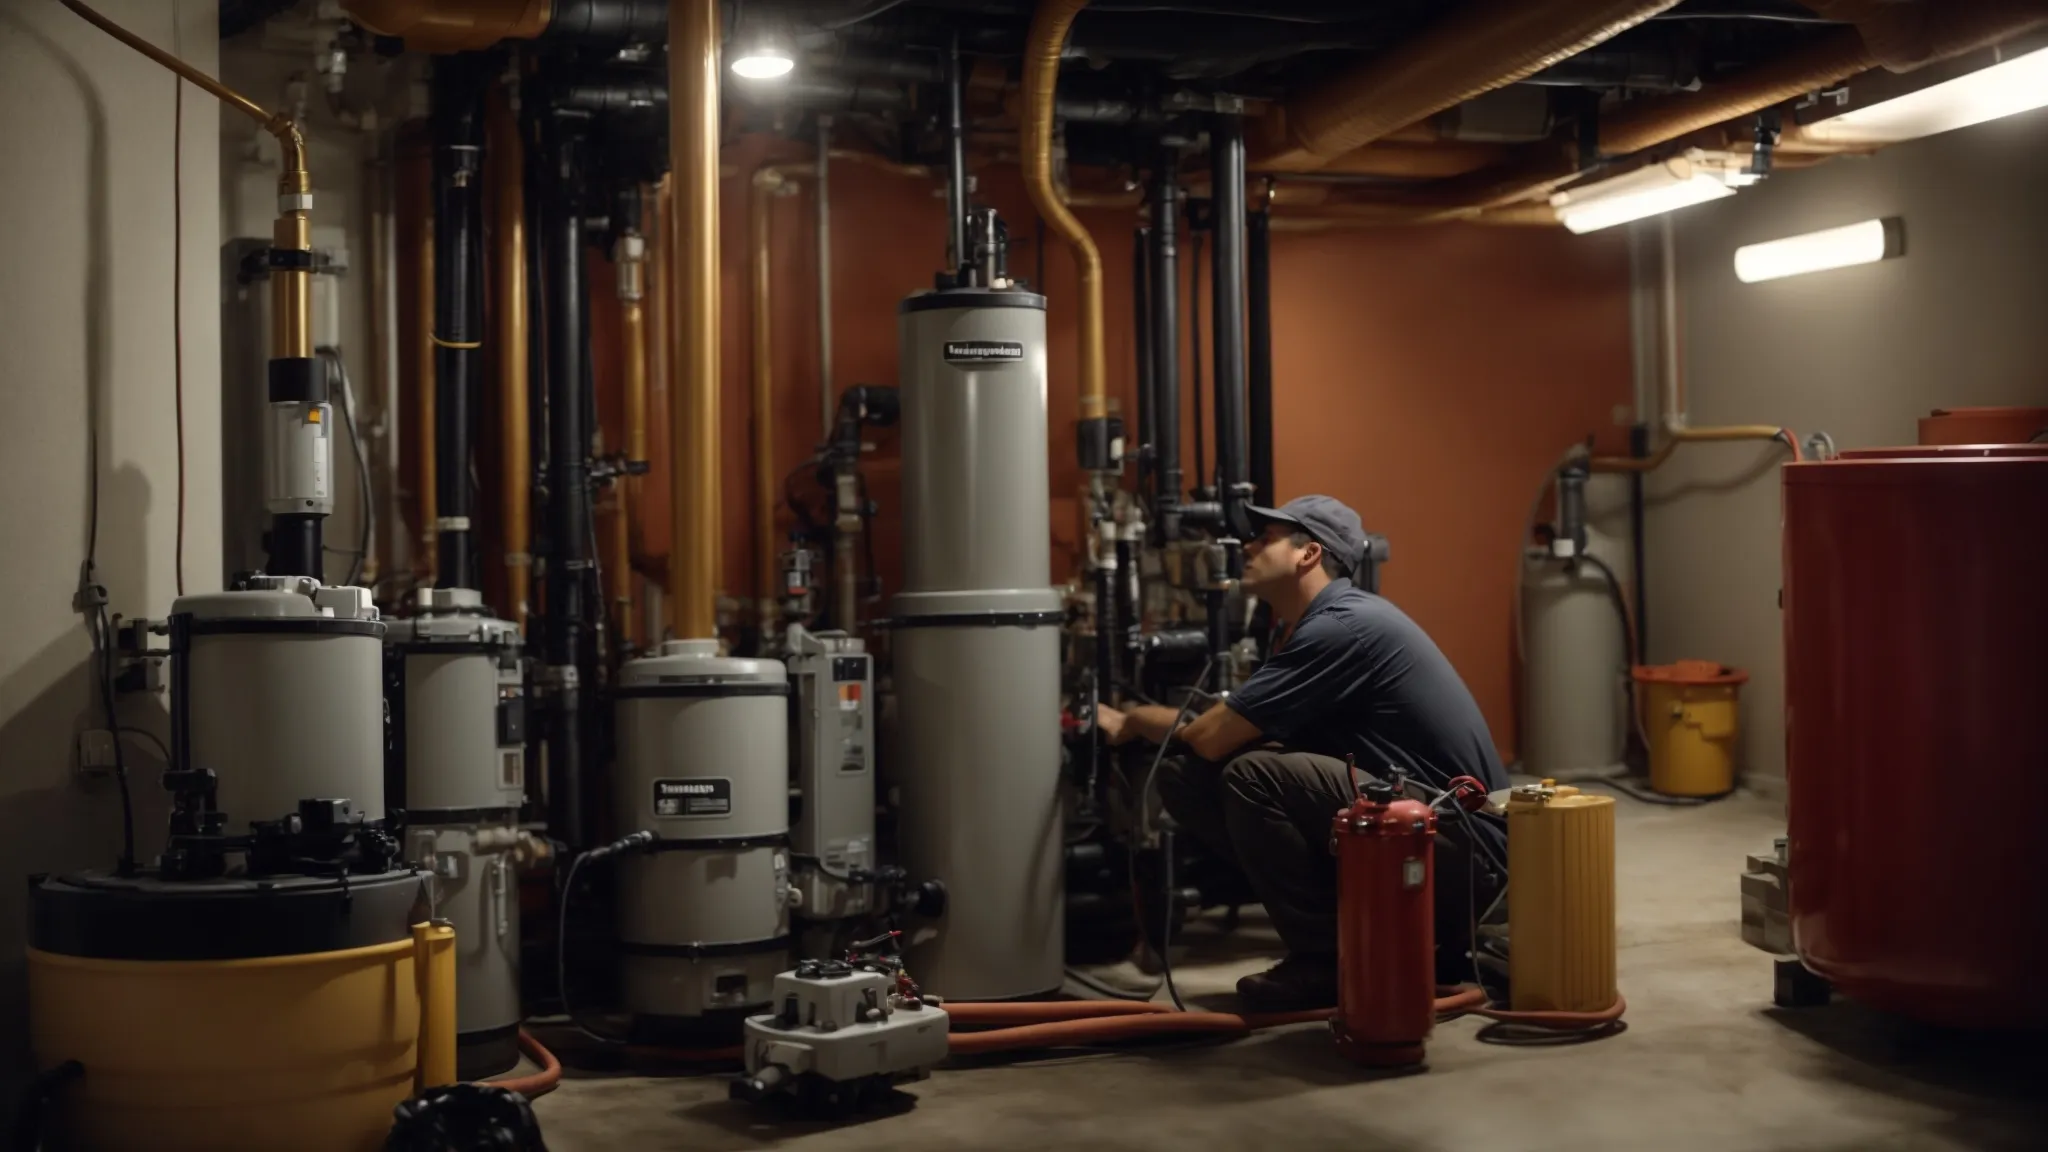
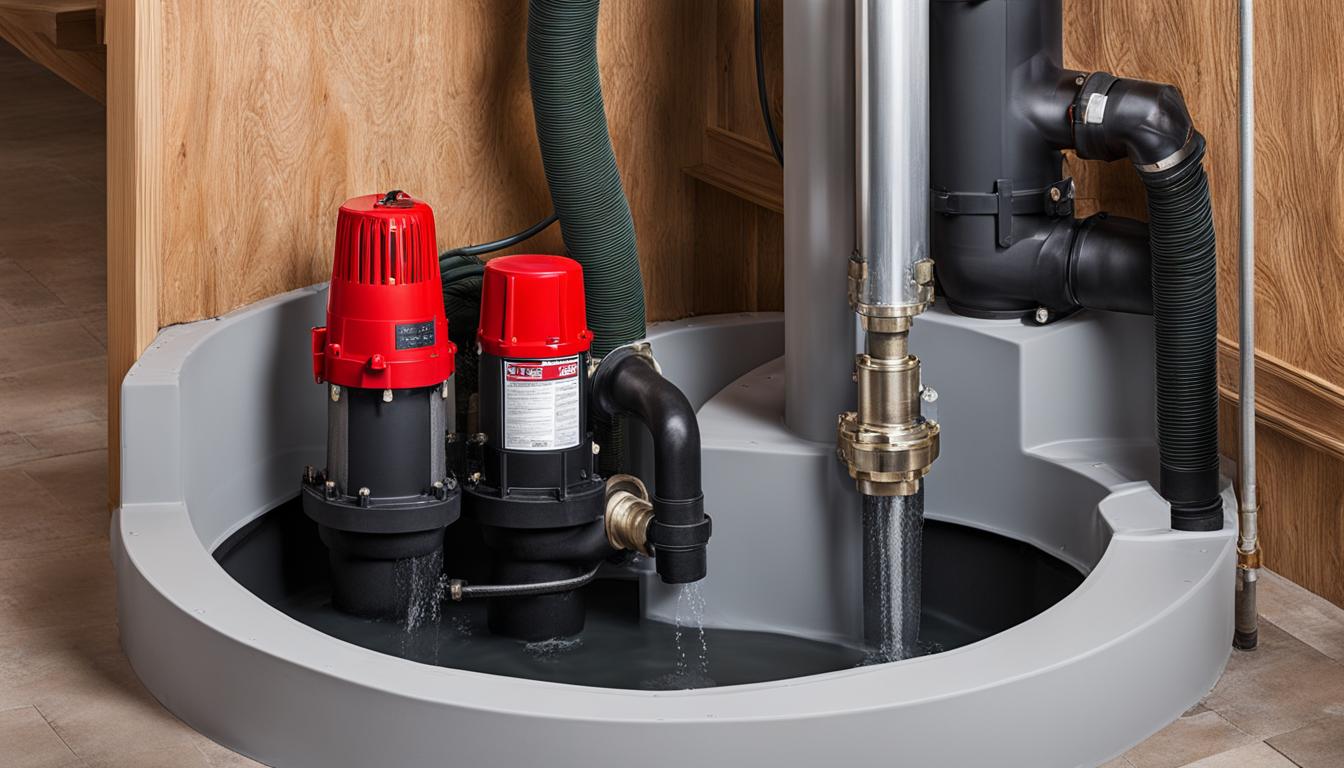
Installing a Sump Pit
Installing a sump pit is an essential step to ensuring a successful sump pump installation. The sump pit collects water from the basement and directs it to the sump pump for removal. Follow these pre-installation steps and expert tips for an efficient installation:
- Choose a location for the sump pit that is both convenient and effective. It should be easily accessible for maintenance and located in a low spot where water tends to accumulate.
- Dig a hole for the sump pit and ensure that it is wide and deep enough to accommodate the pit and the gravel that will surround it. The pit should be at least 18 inches in diameter and 24 inches deep to effectively collect water.
- Add a layer of gravel to the bottom of the hole to help with drainage and prevent the sump pump from sitting in mud.
- Position the sump pit in the hole and ensure that it is level. Use a level tool to confirm. Note: If the pit is not level, the float switch may not function correctly, leading to pump failure.
- Connect the discharge pipe to the sump pit. Ensure that it is positioned correctly and securely attached to the pump.
- Seal the sump pit and test for any leaks. Apply a generous amount of waterproof sealant around the perimeter of the pit and ensure that it is properly sealed. Test for leaks by filling the pit with water and checking for any signs of leakage.
Following these pre-installation steps will ensure that the sump pit is set up for successful pump operation. Once the sump pit is properly installed, move on to selecting the right sump pump for your needs.
Choosing the Right Sump Pump
When it comes to sump pump installation, selecting the right pump for your needs is vital. Here are some factors to consider:
Power and Capacity
The horsepower of your sump pump will determine how much water it can handle and how quickly it can pump the water out of your basement. Consider the size and depth of your basement, as well as the severity of the flooding risk, when selecting the horsepower.
In addition, the capacity of the pump’s basin should be considered. The higher the capacity, the less frequently the pump will have to run, reducing the risk of burnout.
Backup Options
It’s important to consider backup options, such as battery-powered backups, to ensure your sump pump will continue to operate during power outages. This can be especially important during heavy storms, when power outages are more likely to occur.
Brand and Warranty
When choosing a sump pump, consider the brand’s reputation and customer reviews. Look for a sump pump with a warranty that covers the cost of repairs or replacements in case of malfunction.
By taking the time to research and consider these factors, you can ensure that you select the right sump pump for your home’s needs.
Tip: Consult with a professional to ensure you choose the right sump pump for your specific situation and have it correctly installed.
Connecting the Sump Pump System
With the sump pit securely installed and the sump pump in place, it’s time to connect the necessary pipes and fittings to complete the sump pump system. This is a crucial step in ensuring a smooth and efficient installation process.
Before connecting any parts, refer to the manufacturer’s instructions to ensure proper installation. This will ensure that the system is working efficiently and help prevent any future issues.
When choosing pipes and fittings, select materials that are durable and compatible with the pump’s specifications. PVC pipes and fittings are popular choices for their affordability and durability.
When connecting the pipes and fittings, ensure proper sealing to prevent any leaks or water damage. Use a waterproof sealant or plumber’s tape to ensure a tight seal.
Creating a Discharge Line
After connecting the pipes and fittings, it’s important to install a discharge line to direct the water away from your home’s foundation. This line should lead at least 10 feet away from the home and should be positioned in a way that prevents water from flowing back towards the foundation.
When creating the discharge line, consider the type of pump you are using. Submersible pumps require a larger discharge pipe than pedestal pumps. Refer to the manufacturer’s instructions for the appropriate pipe size and installation process.
Testing the Sump Pump System
After completing the installation, it’s crucial to test the sump pump system to ensure it is functioning properly. Fill the sump pit with water and observe the pump’s performance. The pump should activate automatically as the water level rises and should shut off once the water is drained from the pit.
If the pump is not functioning as expected, refer to the manufacturer’s instructions for troubleshooting tips or consult with a professional.
Maintaining Your Sump Pump System
Regular maintenance is essential for ensuring the proper functioning of your sump pump system. Clean the sump pit periodically to prevent the buildup of debris. Check the discharge pipe for any clogs or obstructions. Test the float switch to ensure it is functioning properly.
Following these pre-installation steps and proper installation procedures will ensure that your sump pump system is efficient and reliable in managing water in your basement. Regular maintenance will help prevent any issues and ensure the system is functioning properly.
Testing and Maintenance
Once you’ve completed the sump pump installation, it’s essential to test the system to ensure it’s functioning efficiently. Regular maintenance is also crucial to keep it in peak operating condition. Here are some important homeowner tips to follow:
- Test your sump pump regularly: You should test your sump pump at least once a year by pouring water into the sump pit until the float activates the pump. This test will ensure that your pump is working correctly and will help you identify any issues before they become major problems.
- Clean the sump pit: Regularly clean out any debris in the sump pit. A clean pit ensures that the pump can easily access the water and reduces the potential for clogs or obstructions in the float switch or impeller.
- Check the discharge pipe: Verify that the discharge pipe is free of debris and properly positioned. Ensure it directs water away from your home’s foundation and doesn’t drain to a sidewalk or street where it can create a slip hazard.
- Test the float switch: Use a bucket of water to manually trigger the float switch and test the pump’s response. If it fails to activate, clean the switch and try again. If it still doesn’t trigger, contact a professional to investigate the issue further.
- Consider a backup system: Power outages or mechanical failures can cause your sump pump to stop functioning. Consider adding a battery backup or water-powered backup pump to your sump pump setup. This addition will provide extra peace of mind in the event of an emergency.
By following these simple efficient installation tips and incorporating regular maintenance into your pre-setup checklist, you can ensure that your sump pump system operates efficiently and effectively. Proper maintenance also ensures that you get the most out of your investment by extending the life of your sump pump system.
Conclusion
Preparing your home for sump pump installation requires careful planning and consideration of important factors. By taking necessary steps, you can ensure a smooth and efficient installation process, and a reliable sump pump system to protect your basement from water damage.
Installation Readiness
Before starting the installation process, assess your needs for a sump pump and ensure proper drainage around your home. Verify your electrical setup and consider installing a dedicated outlet, if needed. Clear the installation area of any obstructions and create a clean, well-lit workspace.
Homeowner Tips
Choosing the right sump pump is crucial for efficient water management. Consider factors such as the pump’s horsepower, capacity, and backup options. Regularly maintain the pump by cleaning the pit, checking the discharge pipe, and testing the float switch. If needed, consult with a professional for guidance.
Efficient Installation
Follow the manufacturer’s instructions to properly install the sump pit and securely position the pump. Connect the necessary pipes and fittings, ensuring proper sealing. After the installation, test the sump pump to ensure it is functioning properly and maintain it regularly for optimal efficiency.
By following these expert tips and considering important factors, you can prepare your home for sump pump installation with confidence and ensure an effective sump pump system to protect your basement from water damage.
FAQ
How should I prepare my home for sump pump installation?
To prepare your home for sump pump installation, follow these steps: clear the installation area of any clutter or obstructions, ensure proper drainage by checking downspouts and gutters, verify electrical requirements, install a sump pit, choose the right sump pump, connect the sump pump system, and regularly test and maintain the pump.
What factors should I consider when assessing my needs for a sump pump?
When assessing your needs for a sump pump, consider the vulnerability of your basement to flooding, the amount of water you need to manage, and any existing drainage systems in place.
How do I clear the installation area?
Clear the designated area for the sump pump installation by removing any clutter or obstructions. Ensure easy access to the installation site and create a clean, well-lit workspace.
Why is proper drainage important for a sump pump?
Proper drainage is crucial for the functionality of your sump pump. Check that your downspouts, gutters, and grading around your home are directing water away from the foundation. Make any necessary repairs or improvements to ensure water is effectively managed.
What electrical requirements should I check before installation?
Before sump pump installation, verify that you have the appropriate electrical setup. Ensure your circuit breaker can handle the pump’s power requirements and consider installing a dedicated outlet if needed.
How do I install a sump pit?
Follow the manufacturer’s instructions to properly install the sump pit for your sump pump system. Ensure it is securely positioned and properly sealed.
What should I consider when choosing a sump pump?
When choosing a sump pump, consider factors such as horsepower, capacity, and backup options. Consult with a professional if needed to ensure you select the right pump for your needs.
How do I connect the sump pump system?
Once the sump pit is installed and the pump is ready, connect the necessary pipes and fittings according to the manufacturer’s instructions. Ensure proper sealing to maintain the integrity of the system.
How do I test and maintain the sump pump?
After installation, test the sump pump to ensure it is functioning properly. Regularly maintain the pump by cleaning the pit, checking the discharge pipe, and testing the float switch.
How can I prepare my home for sump pump installation with confidence?
By following these steps and considering important factors, you can prepare your home for sump pump installation with confidence. Taking the time to properly prepare will ensure a reliable and effective sump pump system to protect your basement from water damage.